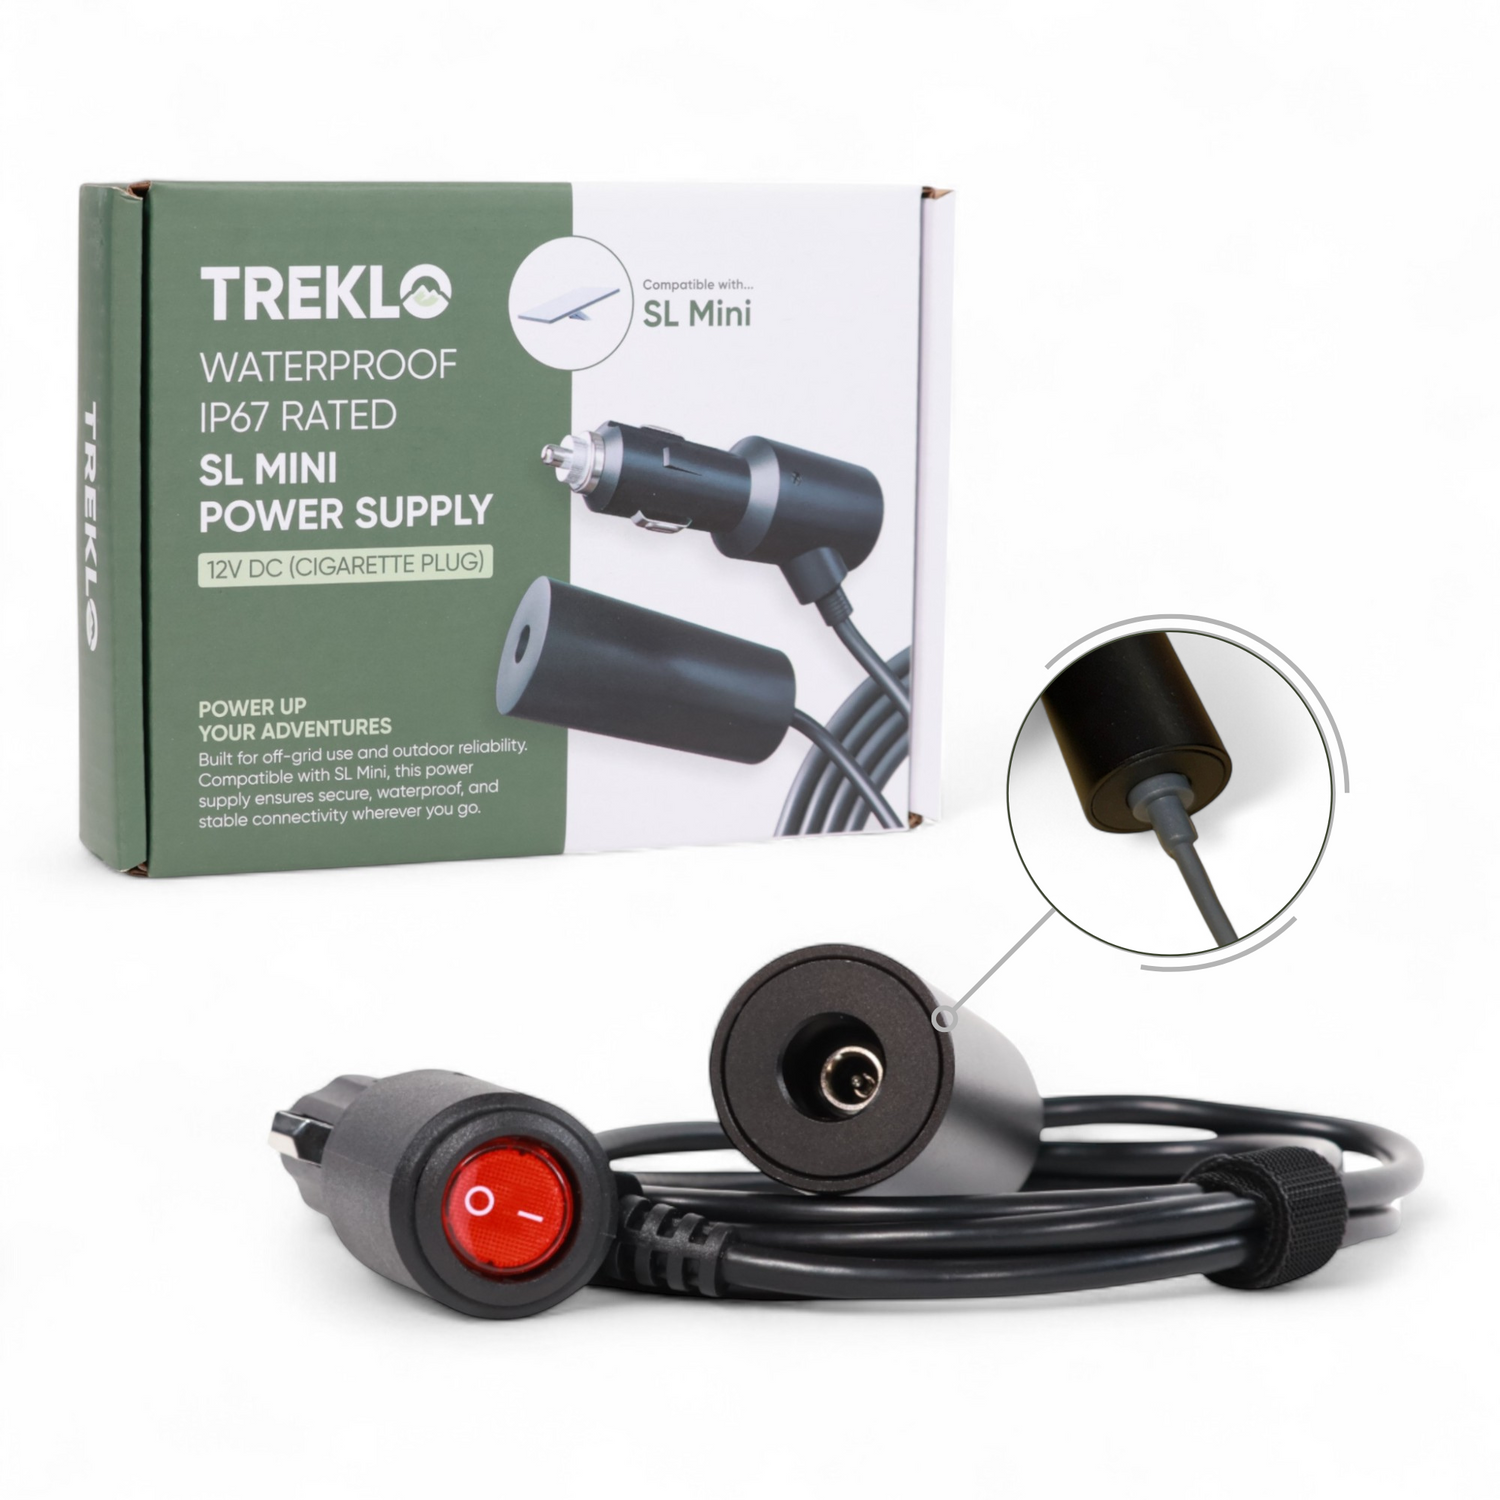
How do you intend to set up the Starlink Mini in your adventure vehicle? If your camper's roof is crowded with solar panels or a roof storage box, you can install your Starlink internet system through the side wall instead. We've actually just put together a 4x4 Canopy Accessory Kit for Starlink Mini to help you get started and speed up the installation process. The key difference is that this kit is designed for Starlink Mini installation through the side wall, allowing you to operate the dish either on the roof or on the ground.
Like the other Starlink Mini kits in our catalogue, the Canopy Accessory Kit doesn't just save you money. It also helps you get your Starlink internet service up and running quickly by bringing everything you need into one convenient package.
In this guide, we'll cover everything you need to know about this bundle of Starlink Mini accessories, including all the items in the box and their importance in the canopy setup on your 4x4 campervan and other 4WD camping vehicles.
What Is the 4x4 Canopy Accessory Kit for Starlink Mini?
The 4x4 Canopy Accessory Kit is a bundle of Starlink Mini accessories assembled to enhance your satellite internet experience while off-grid in your 4x4 camper. It focuses on providing continuous, reliable connectivity while you're relaxing or working outdoors and indoors.
The 4x4 Canopy Accessory Kit for Starlink Mini is available as either a 4-in-1 or 5-in-1 kit, depending on whether you want it with or without a Starlink Mini. This means you can get your 4x4 motorhome, 4WD campervan, or expedition truck online from a single box with guaranteed compatibility. No trial and error - we've pre-tested every included accessory and confirmed that they work exactly as described (video demonstrations are available on our website).
The four main accessories included in this bundle are:
- Treklo K2 Pro Boosted Power Supply
- Treklo Heavy-Duty Shielded Magnet Mount
- Treklo Starlink Mini Wall Passthrough Socket
- 3-metre Starlink Mini Replacement Cable
Why This Starlink Mini Accessories Bundle Is a Better Deal for Your Campervan, Motorhome, or Truck
Like our other Starlink Mini accessory bundles, the primary benefit of the kit is enabling you to successfully set up your off-grid internet system from scratch with ease. The second benefit is the money you'll save, which, as you'll see later, is enough to help fund a new battery charger, an extra solar panel, or another accessory you need. Let's see how the two work:
All Supplies in One Box
When unboxing the kit for the first time, you'll receive everything you need to set up and operate your SpaceX internet service. These are the accessories we mentioned above, along with their individual components:
- Treklo K2 Pro Boosted Power Supply - the DC Starlink Mini power supply, signal antenna, wireless remote fobs, cigarette lighter adapter cable, Anderson Plug adapter cable, mounting screws, and instruction manual.
- Treklo Heavy-Duty Shielded Magnet Mount - the Starlink Mini mounting frame, protective cover, round magnets, hex bolts, hex key, screw, screwdriver, roof rack bolts, and installation instructions.
- Treklo Starlink Mini Wall Passthrough Socket - a pre-wired female Starlink Mini input socket with a male DC5521 jack, foam gasket, wall plate, mounting screws, and weatherproof bung.
- 3-Metre Starlink Mini Replacement Cable - a premium genuine Starlink cable with proprietary waterproof barrel jack connectors.
The items above are what you'll receive with the 4-in-1 kit (without the Starlink Mini), perfect if you already own a Starlink Mini dish. If you're starting from scratch, choose the 5-in-1 kit, which includes the Starlink Mini.
The Starlink Mini itself comes as a complete package consisting of the antenna dish, power supply brick, 15-metre Starlink cable, kickstand, waterproof plug, and pipe adapter.
Durable Construction
The kit has been built with durability in mind to deliver reliable, long-lasting performance. All the accessories are manufactured from high-quality materials that offer excellent resistance to impact, harsh weather, and corrosion. This allows you to mount them outdoors with confidence, without worrying about damage or compromised performance.
Here's a summary of the primary construction materials used in each accessory included with the kit:
| Accessory | Construction Materials |
|---|---|
| Treklo K2 Pro Boosted Power Supply | Tough aluminium housing and weather resistance |
| Treklo Heavy-Duty Shielded Magnet Mount | Rigid aluminium frame, rubber-coated Neodymium magnets, and high-impact polycarbonate |
| Treklo Starlink Mini Wall Passthrough Socket | Heavy-duty aluminium wall plate, closed cell foam gasket, pure-copper contacts, and closable bung lid |
| 3-Metre Starlink Mini Replacement Cable | High-purity copper conductor and contacts, high-grade PVC base layer insulation, braided mesh secondary layer insulation, and thick weatherproof/UV-resistant thermoplastic outer insulation jacket |
| Starlink Mini | Rigid high-impact polycarbonate, die-cast aluminium alloys, reinforced ABS, and weather-resistant sealing |
How Easy Is the Starlink Mini Installation?
We have designed the 4x4 Canopy Accessory Kit for Starlink Mini with DIYers in mind as well. Its setup is a straightforward plug-and-play process that you can complete yourself, even without advanced technical skills. However, the level of simplicity depends on whether your 4WD campervan, 4x4 motorhome, or expedition truck already has a cigarette lighter socket or Anderson Plug socket available for use.
If a suitable socket is already available...
Part 1: Power the Starlink Mini
The first step is to create a functional power supply system for your Starlink Mini. This is a simple process where you just plug the supplied cigarette lighter adapter cable into your vehicle's cigarette lighter socket (or use the Anderson Plug adapter cable if connecting to an Anderson Plug). Then, connect the barrel jack end of the adapter cable to the "INPUT" port on the Treklo K2 Pro.
Next, plug one end of the 3-metre Starlink cable into the "OUTPUT" port of the K2 Pro, while connecting the other barrel jack to your Starlink Mini's power input port. Once you switch on your main power source, both the K2 Pro and the Starlink Mini dish will power up.
If this is your first-time installation, configure the Starlink internet connection using your smartphone. Then, verify that the Wi-Fi is working correctly and test the internet speed.
Part 2: Pass the Starlink Mini Power Supply to the Inside
In this step, the goal is to route the power supply you just created for the Starlink Mini through the camper wall or ute canopy to the outside. The Treklo Starlink Mini Wall Passthrough Socket allows you to do this neatly while preventing the elements from entering your living space.
To install it, simply drill a 28-44 mm hole to feed the pre-wired lead through, then secure the socket in place. Next, assemble everything by starting with the foam gasket, followed by the wall plate, and finally the Starlink Mini input socket. Secure the socket from inside the camper using the retaining nut. Then, finish by fastening the wall plate and foam gasket to the camper wall with the four supplied screws.
Part 3: Mount the Starlink Mini
With the Starlink Mini power supply now accessible on the exterior wall, you can connect the Mini dish for internet connectivity. You'll still need a convenient way to secure the antenna, so attach it to the supplied Treklo Shielded Heavy-Duty Magnet Mount. The process is straightforward, as you just need to:
- Screw the four magnets onto the bottom of the aluminium frame.
- Next, place the Starlink Mini dish in the centre of the frame.
- Now, slide the clear protective shield cover over the top of the frame.
- Finally, secure the protective cover to the frame using the included shield fixing screw.
With the Starlink Mini dish securely mounted to the Treklo magnetic mount, it's easy to reposition for the clearest possible view of the sky. Depending on your situation, you can attach it to the magnetic roof, wall, or bonnet of your adventure vehicle.
Ultimate Convenience
Two of the main advantages of the kit are its simplified installation and everyday convenience. In terms of convenience, you'll enjoy the following benefits:
Extensive Power Versatility
The Treklo K2 Pro power supply we've used to run the Starlink Mini features a 10-28V input voltage range. This gives you the flexibility to power your off-grid internet system from either a 12V or 24V battery setup.
If you're using a starter battery, the input voltage range is compatible with both conventional and smart alternators. It also helps keep your Starlink internet running reliably during normal overvoltage and voltage fluctuation events.
High Power Efficiency
Another convenient feature is the K2 Pro's excellent power efficiency. This starts with an ultra-low standby power consumption of just 0.02W. Then, the device powers the Starlink Mini directly from your vehicle's battery system, eliminating the energy losses associated with power conversion when using an inverter.
Wireless Remote Operation
The Treklo K2 Pro power supply includes both a built-in push-button switch and an integrated wireless RF module for remote operation. It comes with a removable signal antenna and two remote fobs, allowing you to wirelessly switch your Starlink internet on or off from 25-40 metres away. Therefore, you don't necessarily need to access the power unit, making it especially convenient at night, during rain, or when you're busy.
Continuous, Consistent Connectivity
The Starlink Mini DC power supply we created delivers a stable 30V output, thanks to its built-in smart booster. As you may know, the 30V output is the exact voltage Starlink's engineers designed for optimal Starlink Mini performance without voltage drop. You can set up your system using the original Starlink Mini cable without experiencing intermittent shutdowns.
Secondly, the Treklo K2 Pro delivers up to 120W of maximum power output, which is double the Starlink Mini's rated peak power draw. This generous power headroom is both safe for your Mini and highly convenient. You never have to worry about shutdowns from current overload during initial startup, snow melting, cold weather, or signal acquisition in high-obstruction environments.
Unlimited Starlink Mini Positioning
One of the biggest advantages of powering your Starlink Mini through the Treklo Starlink Mini Wall Passthrough Socket is the freedom to position the dish without restrictions. When the cable enters through the roof, you're generally limited to mounting the Mini on the roof to avoid straining the cable or compromising its vertical cable seal.
In contrast, the female Starlink power socket allows you to position the Mini on the ground, along the sides, or on the roof without placing strain on either the socket or the cable. This helps ensure continuous, reliable internet connectivity while protecting the cable connector and internal wiring from unnecessary stress.
Strong Magnetic Hold
The magnets in the Treklo Heavy-Duty Shielded Magnet Mount provide a combined pull force of 100kg (about 220 lbs). This is not only stronger than many Starlink Mini magnet mounts on the market, but in our experience, the mount often requires both hands to detach.
The 100kg magnetic holding force is exceptionally strong, keeping your Starlink Mini securely mounted whether your vehicle is parked in strong winds or in motion. We've tested it more than a dozen times, including on rough, untarmacked outback roads.
As mentioned earlier, the magnets are rubber-coated to minimise the risk of scratching your camper's exterior paint. The rubber coating also cushions the impact when attaching the mount, helping prevent dents and paint flaking.
Multi-Layer Protection Advantage
The kit includes a range of built-in safeguards to ensure optimal, safe, and long-lasting performance. These protective features include:
- Multi-layer protection in the Treklo K2 Pro against extreme temperatures, overvoltage, short circuits, and reverse polarity.
- An aluminium housing that provides impact protection while promoting rapid heat dissipation.
- A clear, high-impact polycarbonate shield that protects the front-facing surface of the Starlink Mini from physical damage without compromising internet performance.
- A weatherproof design that prevents dust, moisture, and other environmental elements from entering the Treklo K2 Pro, wall passthrough socket, Starlink cable, and even the Starlink Mini dish itself. Additionally, the rubber-coated magnets help reduce weathering that could otherwise lead to rust and accelerate demagnetisation.
How Much Does the Kit Cost?
Compared to purchasing the individual Starlink Mini accessories separately, the bundled kit offers significantly better value. The 4-in-1 kit (without a Starlink Mini) costs $420, saving you $157 compared to buying the accessories individually at $577.
If you opt for the 5-in-1 kit (with a Starlink Mini), you'll pay $811. This means you're effectively paying just $391 for the Starlink Mini, making it 10-35% cheaper than purchasing it from many other dealers across Australia.
To make the deal even better, the kit, whether purchased with or without a Starlink Mini, comes with a 2-year local warranty. Our support team is also always available whenever you need assistance with your system.
Final Thoughts
That's how our 4x4 Canopy Accessory Kit can help you set up Starlink internet in your 4x4 motorhome, expedition truck, 4WD campervan, or ute tray. The kit simplifies installation, enhances performance, and helps you save money.
Before we wrap up, it's worth noting that the magnet mount included in the kit requires a magnetic surface for secure attachment. If your camper's wall or roof is made from a non-magnetic material, such as aluminium or fibreglass, you'll need to use the included roof rack mounting bolts to secure the mount instead.
Alternatively, you can use 3M Adhesive Mounting Discs for Magnets. However, these are not included with the kit, so you'll have to purchase them separately.
Frequently Asked Questions
What is the difference between the 4-in-1 and 5-in-1 kits?
The 4-in-1 kit ($420) includes the Treklo K2 Pro Boosted Power Supply, Heavy-Duty Shielded Magnet Mount, Wall Passthrough Socket, and a 3-metre replacement cable - ideal if you already own a Starlink Mini dish. The 5-in-1 kit ($811) adds the complete Starlink Mini package, meaning you effectively pay just $391 for the dish.
Can I run the Starlink Mini from a 12V or 24V battery system?
Yes. The Treklo K2 Pro power supply features a 10-28V input voltage range, so it works with both 12V and 24V battery setups. It delivers a stable 30V output with up to 120W of maximum power - double the Starlink Mini's rated peak power draw.
How strong is the magnet mount?
The Treklo Heavy-Duty Shielded Magnet Mount provides a combined pull force of 100kg (about 220 lbs), keeping your Starlink Mini securely mounted whether your vehicle is parked in strong winds or in motion, even on rough outback roads.
What if my camper's roof or wall is not magnetic?
If your camper's wall or roof is made from a non-magnetic material such as aluminium or fibreglass, use the included roof rack mounting bolts to secure the mount, or purchase 3M Adhesive Mounting Discs for Magnets separately.
Ready to get your 4WD online? Order the 4x4 Canopy Accessory Kit for Starlink Mini today and enjoy a 2-year local warranty.