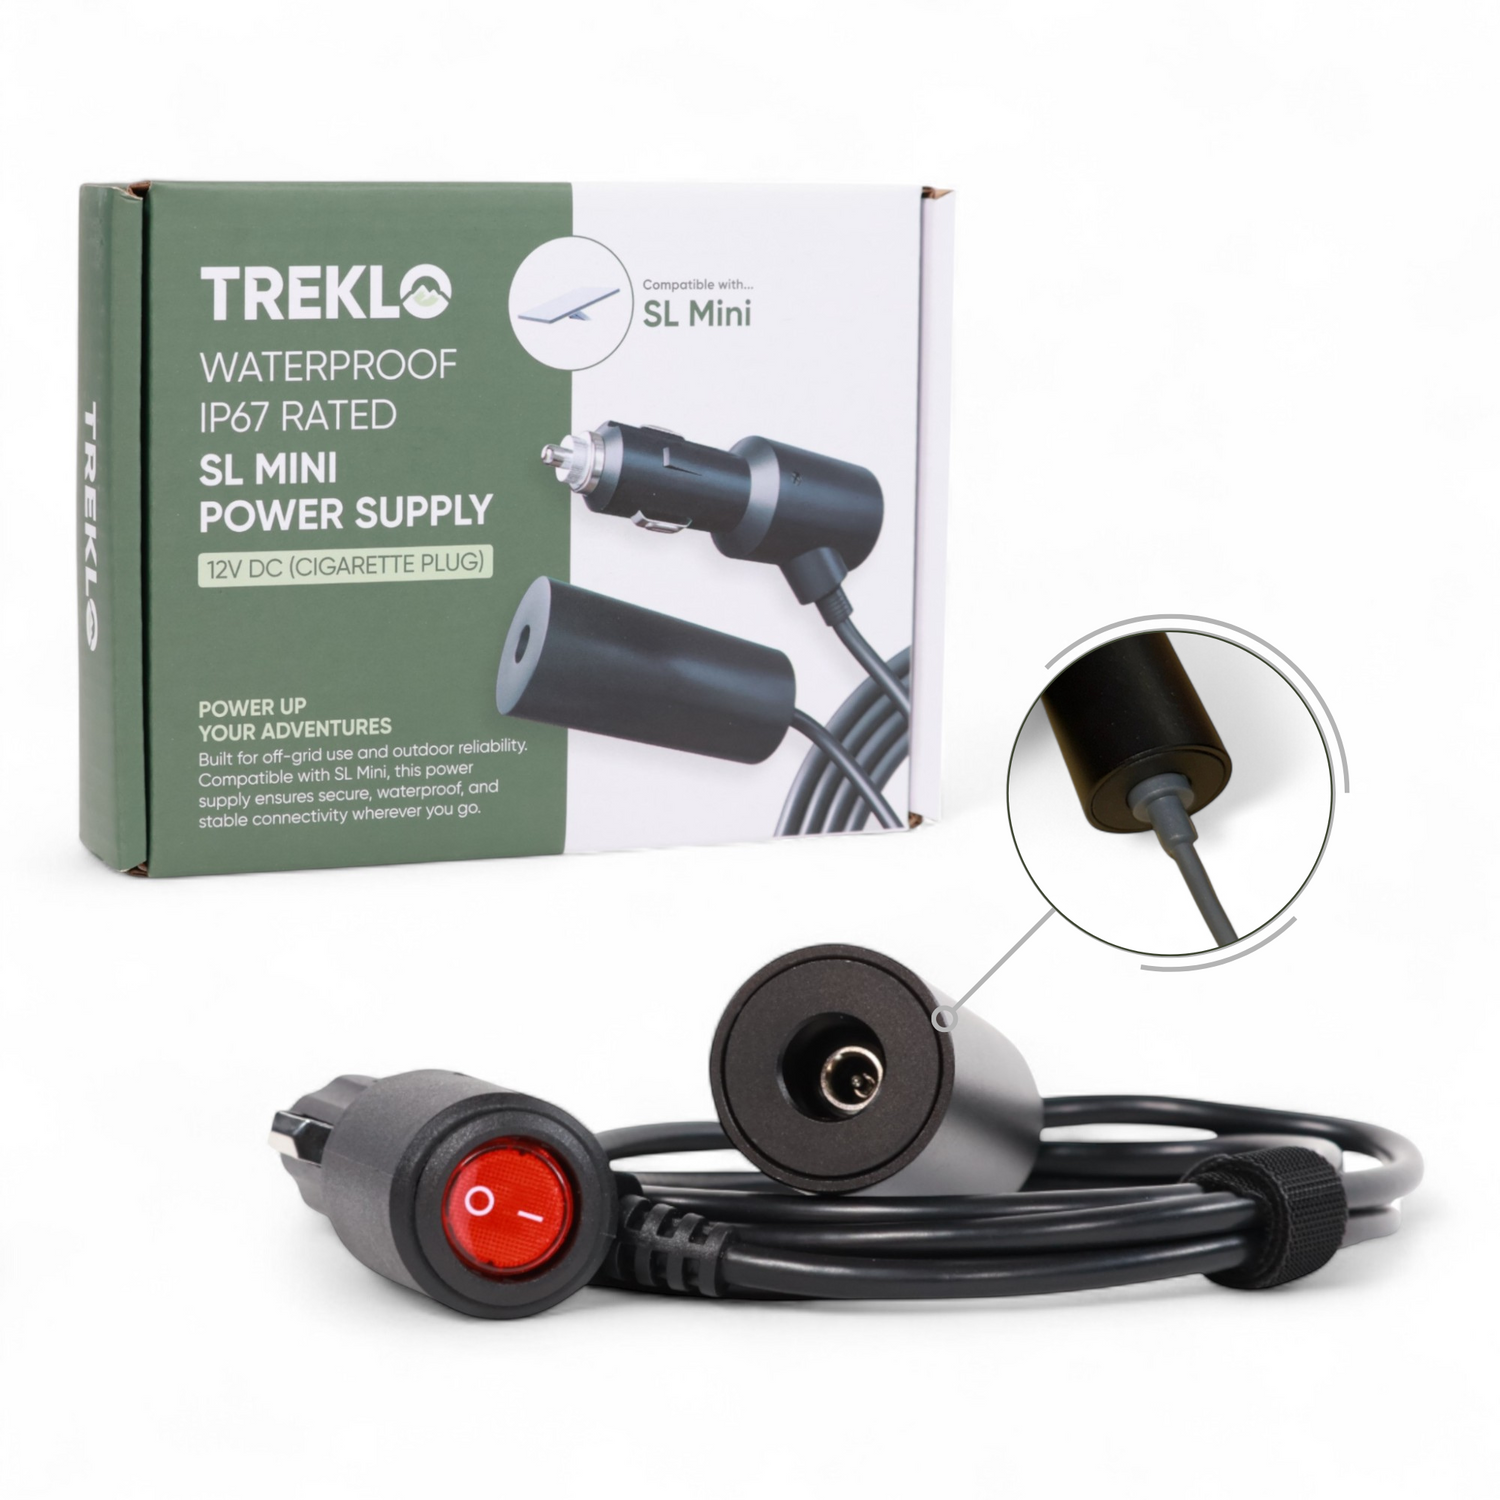
For most caravanners and RVers, we recommend dedicated DC conversion power supply solutions to run the Starlink Gen 2 kit. They are typically plug-and-play and highly reliable. But for those who enjoy understanding how machines work together, building your own Starlink 12V power supply for the Gen 2 dish is a fun and rewarding project. If you have your own router, the second method below costs about $150 to complete.
In fact, a DIY DC power supply was the only solution available when Starlink Gen 2 internet kits were first released. Building such a system seemed challenging at the time, but now we find it enjoyable, likely because we've done it several times and guided dozens of DIYers through the process.
In this post, we share two simple ways you can create a Starlink Gen 2 DC power supply for your campervan, caravan, or RV. While both methods are easy and effective, the one you decide to use depends on how much you enjoy hands-on building.
What Voltage Does the Starlink Gen 2 Dish Need?
Building a DIY Starlink Gen 2 power supply is straightforward. The Gen 2 dish requires at least 48V and 3 amps to operate, which is easily achievable since 12V-to-48V DC-to-DC step-up booster converters are readily available.
There are two types of voltage step-up boosters you can use to create your DIY Starlink 12V power supply:
- A dedicated Starlink Gen 2 12V/24V to 48V Adapter, or
- A standard 12V-to-48V Boost Step-Up Converter
The dedicated adapter is ideal for the quickest DIY DC power supply setup. It's plug-and-play, as we shall see shortly, but it comes at a higher cost. On the other hand, building your DC power supply with a standard voltage boost step-up converter is more affordable, costing about $150 or less if you already have some of the supplies.
Two Ways to Make a DIY Starlink Gen 2 DC Power Supply for Your Camper
There are three methods to create a DIY Gen 2 DC power supply for your campervan, caravan, or RV: easy, moderate, or complex.
The complex build was more common when dedicated 48V adapters or SPX-to-RJ45 adapters were unavailable. It involved cutting the Starlink Gen 2 cable and modifying its unique SPX connector end with RJ45 pinouts, which would require you to separate, arrange, and crimp the wires into an RJ45 connector.
But now, dedicated 48V adapters and SPX-to-RJ45 adapters are available. We will be using them in our "easy" and "moderate" DIY builds, as they are straightforward and allow you to keep your original Starlink cable intact.
Method 1: The Easy DIY Starlink Gen 2 DC Power Supply Build
This is the simplest way to build a DIY DC power supply for your campervan, caravan, or RV. It uses a dedicated Starlink Gen 2 12V/24V to 48V Adapter, which is plug-and-play. You only need to gather the remaining components and connect them.
Supplies You Need
- Starlink 12V/24V to 48V Adapter (linked above): The core component, featuring a built-in voltage converter to boost your camper's 12V or 24V to the 48V required by the dish. It also includes a PoE injector with a reengineered SPX port for easy connection to the Gen 2 dish.
- DC Travel Router: Distributes Starlink internet as WiFi to your devices. Ensure the router is compatible with your camper's 12V or 24V electrical system and has low power consumption.
- Starlink Cable: Powers the Gen 2 dish and carries internet data packets to the PoE injector. Use the original Starlink cable or a genuine replacement with waterproof sealing.
- Ethernet Cable: Critical for conveying Starlink internet to the router for WiFi configuration.
- Fused DC Power Supply Cable: Supplies power from your camper's battery bank to the adapter. The cable should have terminal connectors on one end and bare wires on the other, with a 15A inline fuse on the positive wire.
- Screwdriver: Helps secure the bare wire ends of the DC power supply cable to the adapter's screw-on terminals.
Step 1: Connect the Power Supply Cable to the Starlink Adapter
Attach the fused DC power supply cable's positive wire (with fuse) to the positive (+) terminal of the adapter. Then, connect the negative wire to the negative (-) terminal. Do not connect the DC power supply cable to the battery bank yet.
Step 2: Power Up Your Starlink Gen 2 Dish
Plug the Starlink cable from your Gen 2 dish into the SPX port of the adapter.
Step 3: Data Up the Travel Router
Connect one RJ45 end of the Ethernet cable to the router's WAN port and the other to the "LAN" outlet of the adapter.
Step 4: Power Up the Travel Router
Power your WiFi router using a compatible DC power supply option. Dedicated travel routers for campervans and caravans typically include a DC power option. If using a household router with an AC power adapter, you may need to modify a DC power supply or find a compatible DC power plug.
Step 5: Supply Power to the Starlink Adapter
Now, connect the adapter's power supply cable to your battery bank busbars, ensuring correct polarities: positive (+) wire to the positive (+) busbar and negative (-) wire to the negative (-) busbar. Incorrect connections may cause reverse polarity, potentially damaging the adapter.
Once secured, turn on the master switch of your battery bank. The adapter's built-in LED indicator will light up blue, indicating power is flowing through its circuitry.
Step 6: Configure the Router and Test Your Starlink WiFi
Wait for your Starlink dish to initialise and self-calibrate (automatically orienting to the best satellite direction). While waiting, configure your router for wireless (WiFi) connectivity, following the manufacturer's instructions for setting the WiFi name and password. Once the router is configured and the Starlink Gen 2 dish is online, connect your phone to the WiFi network and test the connection.
Important Notes for Method 1
- If your camper lacks battery busbars, connect the adapter's power supply cable directly to the battery stud posts (in Step 5).
- You could also power the setup from your camper's fuse panel. Just ensure the cable taps into a 15-amp fuse.
- The adapter's terminal points include an earthing screw for a ground cable to enhance protection against electrical shocks and fires.
- The adapter supports a 9–36V input voltage, making it compatible with various 12V and 24V battery configurations. It is also compatible with campers with conventional or smart alternators.
Method 2: The Moderate DIY Starlink Gen 2 DC Power Supply Build
For those who enjoy a more involved project, this "moderate" build requires slightly more effort. Nonetheless, it's still straightforward if you have all the components.
Components You'll Need
- 12-to-48V Boost Step-Up Converter: The core component, which increases your camper's 12V to the 48V needed by the Starlink Gen 2 dish. Ensure it provides at least 3 amps.
- Starlink PoE Injector: Transfers 48V from the converter to the Starlink dish while relaying internet data packets to the router.
- Starlink Gen 2 SPX Adapter: The special accessory that allows you to use the original Starlink Gen 2 cable without cutting. It features a proprietary SPX port on one end and an RJ45 connector on the other.
- Twin-Core DC Power Cable: Connects the step-up converter to your camper's power supply. It should have a 15-amp fuse on the positive (red) wire for protection against excessive current.
- Shielded RJ45 Ethernet Cable: Transfers Starlink internet data packets from the PoE injector to the router.
- DC Travel Router: The accessory that converts wired Starlink internet into a wireless (WiFi) signal for sharing with smart devices.
- Screwdriver: The tool you use to secure the output wires of the step-up converter to the input terminals of the Starlink PoE injector.
Step 1: Secure the Main Components in One Place
For a neat installation, screw the three main components (converter, PoE injector, and SPX adapter) onto a piece of wood. Arrange them so they work together seamlessly: the converter's output cables feeding into the PoE injector's inputs, while the injector's PoE port aligns with the SPX adapter's RJ45 port.
Step 2: Connect Power Lines to the PoE Injector
Connect the output cables of the boost converter to the input terminals of the Starlink PoE injector. Remember to observe the correct polarities: yellow (positive) wire to the positive (+) terminal and black (negative) wire to the negative (-) terminal. Then, tighten the terminal screws for a secure connection.
Step 3: Couple Up the Router and the PoE Injector
Plug one RJ45 end of the shielded Ethernet cable into the "LAN" port of the Starlink PoE injector and the other into the "WAN" port of your router.
Step 4: Prepare the Special Starlink SPX Adapter
The SPX adapter includes a short RJ45 Ethernet cable. Connect one end to the "PoE" port of the PoE injector and the other to the adapter's RJ45 port.
Step 5: Hook Up Your Starlink Gen 2 Cable
Next, connect the Starlink cable from your Gen 2 dish to the SPX port on the SPX adapter.
Step 6: Connect the Router to Power
Now, plug your router into the nearest compatible DC power outlet (USB or cigarette lighter socket).
Step 7: Extend the Power Inputs of the Converter
The input wires of the boost converter are rather short. Make them longer by joining the twin-core DC power cable you got. Crimp or solder the wire joints for a secure, vibration-proof connection. Then, add a 15A inline fuse to the positive wire for protection against overcurrent and overvoltage.
Step 8: Add Terminal Connectors to the Cable
You must also crimp O-ring terminal connectors to the other end of the DC power supply cable (in Step 7), ensuring they fit your battery's busbars or stud posts.
Step 9: Connect to the DC Power Supply
After adding the O-ring connectors, secure them to your battery bank's busbars or stud posts. Then, turn on the battery bank's master switch. The Starlink PoE injector's built-in indicator will light up, and your Gen 2 dish should begin initialising.
Step 10: Configure the Router for WiFi
While the Starlink dish starts up (takes 4–5 minutes), turn on your router and configure it for WiFi. Use the manufacturer's instructions to set up the WiFi name and password.
Step 11: Connect and Test the Starlink WiFi
Once the router is configured and the Gen 2 dish has finished initialising, connect your phone to the WiFi network you just set and test the Starlink internet.
Important Notes for Method 2
- We previously had a Starlink PoE injector with a proprietary Gen 2 SPX port and LAN. While it simplified installation at the time, the accessory is no longer available.
- In Step 7, place the inline fuse close to the battery connection for optimal performance and protection.
- If you cannot connect the DC power supply cable to the battery bank (in Step 9), tap into the fuse box. However, ensure the bare wires connect to a 15A fuse holder.
Which DIY Starlink Gen 2 Power Supply Method Is Right for You?
As we mentioned in the beginning, plug-and-play Starlink Gen 2 DC conversion kits provide a working setup in 10–15 minutes. However, if you enjoy how machines work together, these two DIY methods still offer an efficient power solution for your Gen 2.
In terms of power efficiency, the DIY Starlink Gen 2 DC power supply kits save 2–15+ watts compared to an inverter. However, the router you're using should be a low-voltage model, which is why we recommend DC travel routers for campervans and caravans.
FAQ: Starlink 12V Power Supply for Gen 2
What voltage does the Starlink Gen 2 dish require?
The Gen 2 dish requires at least 48V and 3 amps to operate. In a 12V or 24V camper, you achieve this with a 12V-to-48V DC-to-DC step-up booster converter or a dedicated 48V adapter.
How much does a DIY Starlink Gen 2 DC power supply cost?
The moderate build using a standard boost step-up converter costs about $150 or less if you already have some of the supplies. The easy build using the dedicated adapter comes at a higher cost but is plug-and-play.
Is a DC power supply more efficient than running Starlink off an inverter?
Yes. A DIY Starlink Gen 2 DC power supply saves 2–15+ watts compared to an inverter, provided you pair it with a low-voltage DC travel router.
Do I have to cut my Starlink cable for a DIY DC power supply?
No. With today's dedicated 48V adapters and SPX-to-RJ45 adapters, both DIY methods keep your original Starlink cable intact. Cutting and re-crimping the SPX connector was only necessary before these adapters became available.
Ready to get your Gen 2 dish running off your batteries? Grab the Starlink Gen 2 12V/24V to 48V Adapter and start your build today.