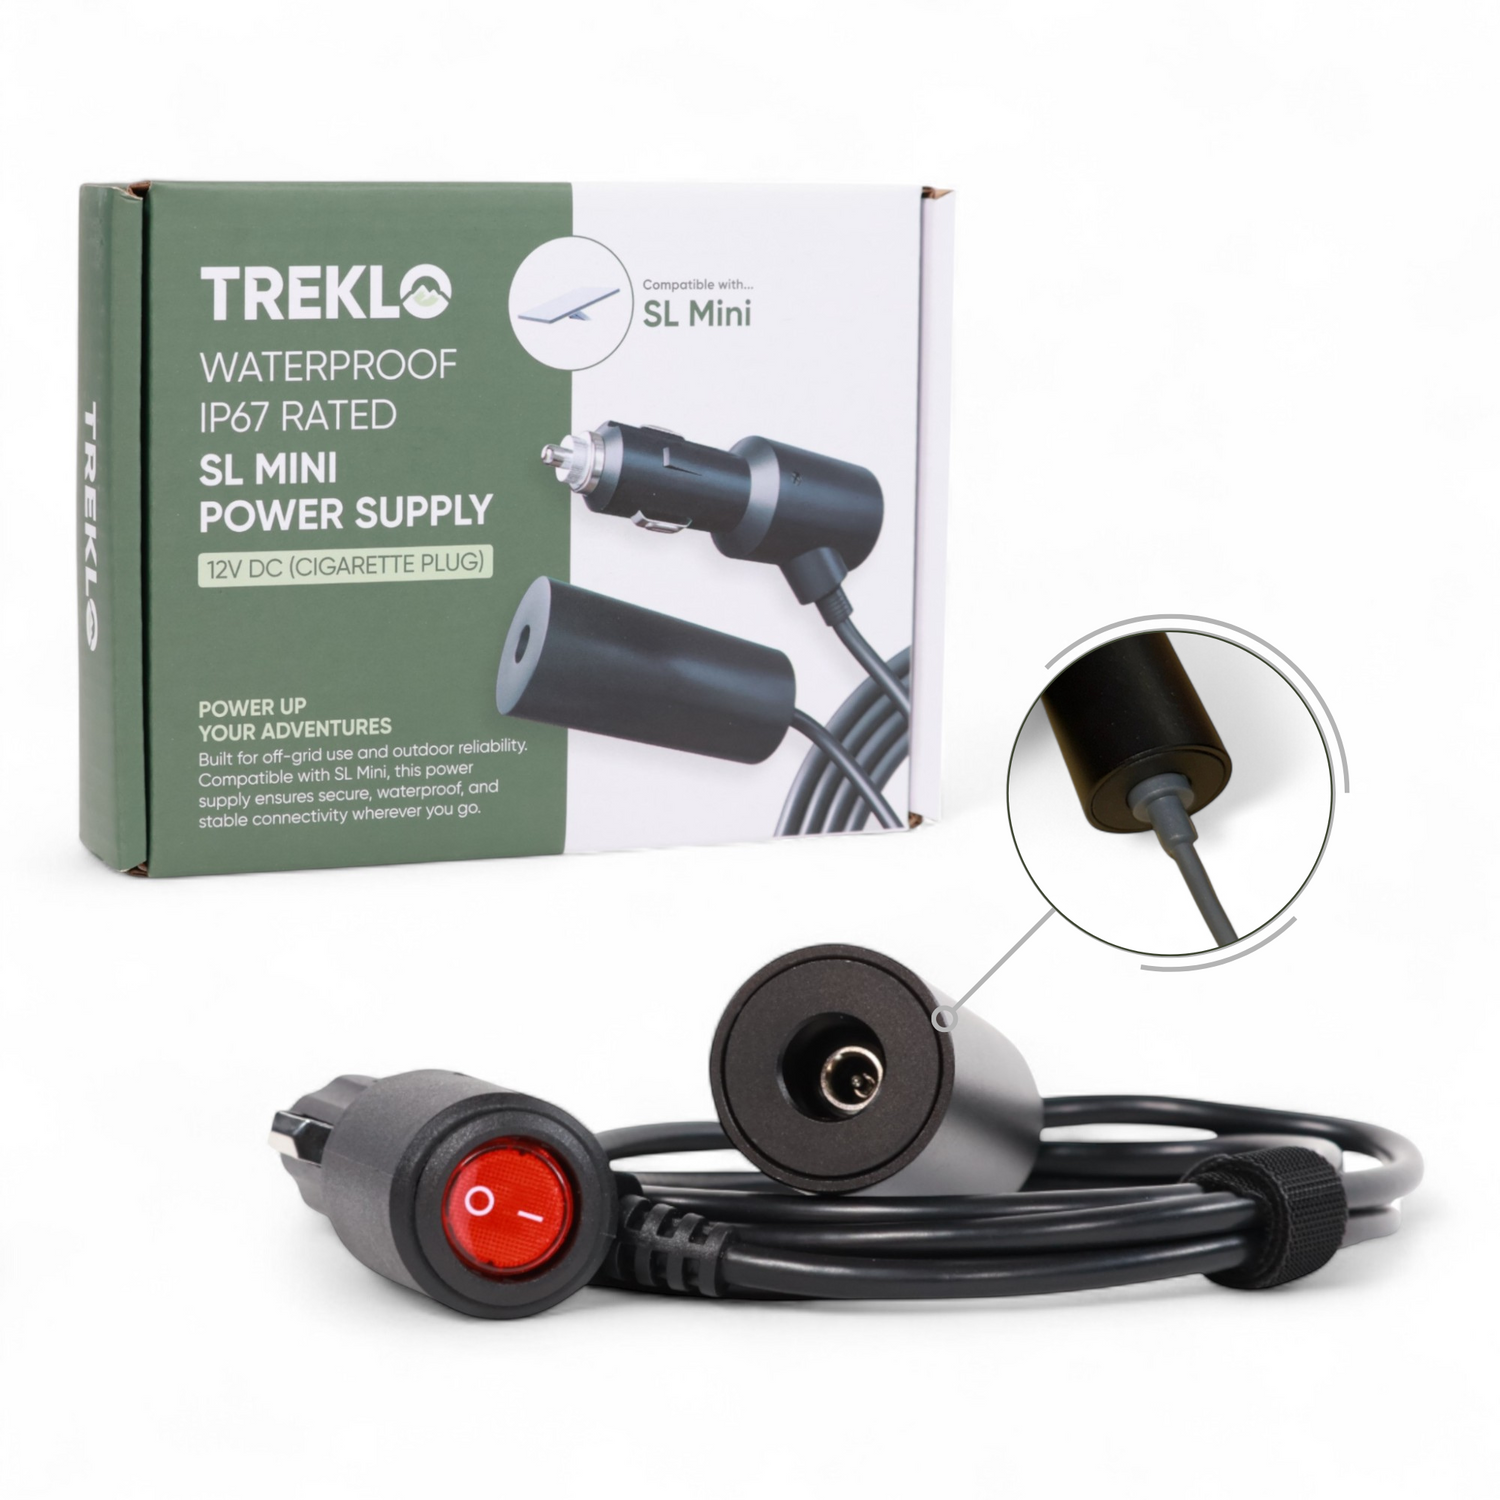
Today, there are about half a dozen methods to power Starlink Gen 3 internet kits in campervans, caravans, and RVs. Are the DIY DC power supply solutions we initially developed for Starlink Gen 3 systems still worth it, though?
After testing the various powering solutions of the Gen 3 system, they all operate it effectively. Interestingly, every method has its fan base, which can be a challenge to convince to try the alternative solutions. This includes the custom methods we used to power the new standard Starlink internet kits before dedicated plug-and-play conversion kits were available.
In any case, this blog discusses two simple DIY DC power solutions for Starlink Gen 3 kits. The first is the quickest way to create your own power supply unit, though it's a bit more expensive than the second because you're using the special Gen 3 components. We'll cover the supplies needed, step-by-step instructions, and when to consider each method.
Why Is a Starlink Gen 3 DC Power Supply More Efficient?
As a digital nomad, the Starlink Gen 3 provides fast browsing speeds and reliable connectivity while off-grid, achieving 500+ Mbps downloads and 50+ Mbps uploads on good days. However, before enjoying these blazing data speeds, your internet kit must be powered and set up.
While you can power your Starlink Gen 3 setup with its original AC power brick, a DC power supply is typically more efficient for campers. It can save 17–30% of power, which, for van dwellers and caravanners, translates to an extra minute or ten for closing your online deals.
The Starlink Gen 3 internet kit requires a minimum of 56V DC, which exceeds the electrical capabilities of most campers. Most campervans and caravans in Australia are 12V, with some rated at 24V. Therefore, to operate your Gen 3, you must boost the voltage in your camper to the required 56V.
There are two main ways to increase the DC voltage to power the Starlink Gen 3 in your campervan, caravan, or RV:
- Dedicated Starlink Gen 3 DC conversion kits
- DIY Starlink Gen 3 DC power supply systems
As mentioned earlier, this guide focuses on powering the Starlink Gen 3 with your own DC power supply system. There are three ways to do this, but the third requires modifications and electrical knowledge that most caravanners and RVers lack. Thus, we'll cover only the two simpler DIY solutions.
Method 1: How to Build a DIY Starlink Gen 3 DC Power Supply the Quickest Way
This method was used to operate Starlink Gen 3 systems before complete plug-and-play DC conversion kits were available. It involves building a 12V-to-56V DC conversion power supply using individual components. The assembly is straightforward, requiring you to connect the components in the correct order.
Supplies You Need
- Starlink Gen 3 DC Conversion Adapter: The core component, featuring a converter to boost your camper's voltage to 56V and a built-in PoE injector to connect the Starlink Gen 3 dish.
- DC WiFi Router: Needed to configure the Starlink satellite internet for WiFi. Any aftermarket router compatible with your camper's electrical system (12V, 24V) will work.
- Starlink Cable: Carries data and power over Ethernet to your Gen 3 dish. We recommend the original Starlink cable or a replacement with waterproof sealing for optimal performance.
- Ethernet Cable: Connects the router to the PoE injector of the conversion adapter to configure the Starlink internet for WiFi.
- Fused DC Power Supply Cable: Essential for connecting the conversion adapter to your camper's battery bank. The wires should have terminal connectors on one end and a 15A inline fuse on the positive line.
- Small Screwdriver: The tool required to secure the DC power cables to the adapter's screw-on terminals.
Step 1: Mount the DC Conversion Adapter
When we used this DIY solution for our Starlink Gen 3, we mounted the DC conversion adapter to the campervan's wall panel for a clean setup. You can do the same or mount it in a cabinet (or just leave it on the table). You can do the mounting as the first or final step after testing.
Step 2: Power Up the Conversion Adapter
Connect the DC power supply cable to the conversion adapter using the correct polarities. Attach the positive (hot) wire to the positive (+) terminal and the negative wire to the negative (-) terminal. Then tighten the terminal screws securely.
Step 3: Prepare the Router for Data Reception
Hook up one end of the Ethernet cable to the "LAN" port of the conversion adapter and the other end to the router's "WAN" port.
Step 4: Power Up the Starlink Gen 3 Dish
The Starlink Gen 3 dish requires a PoE injector to supply power and exchange data with the router. Therefore, connect the Starlink cable from the dish to the "POE" port of the conversion adapter.
Step 5: Supply DC Power to the WiFi Router
Next, plug your router into the appropriate power outlet in your camper. For example, our routers support USB or DC5521 input, which you can supply via a USB socket or cigarette lighter outlet.
Step 6: Supply DC Power to the DC Conversion Adapter
Now, you can attach the terminal wires of the conversion adapter (from Step 2) to your power supply. In our case, we connected the wires to the busbars of our leisure battery bank. However, you could also attach the connectors directly to the battery's studs or the fuse box. Whichever option you use, ensure the positive cable has the correct fuse to protect against overcurrent and overvoltage.
Tip: The adapter features a built-in LED indicator next to the terminal points that lights up blue when power is flowing.
Step 7: Configure Your Starlink Internet for WiFi
With power supplied to the conversion adapter and router, your Starlink Gen 3 system should be online. Configure your Starlink internet for WiFi using the chosen router. Then, connect to the WiFi network with your phone or another WiFi-enabled device and run some tests.
Method 2: How to Build a DIY Starlink Gen 3 DC Power Supply the Cheapest Way
When Starlink released the Gen 3 kits, a dedicated conversion adapter wasn't available. To use the internet in our campervan, we improvised with a PoE injector from our Gen 2 unit and a 12V-to-56V converter, which we ordered from our supplier.
Setting up this Gen 3 DC power supply was enjoyable, as we were eager to use the system. It took about three hours, including preparing a piece of wood to mount the converter and injector. Below are the necessary supplies and instructions we used:
Supplies You'll Need
- 56V DC-to-DC Converter: Boosts your camper's voltage to the 56V needed for the Starlink Gen 3 dish.
- Starlink PoE Injector: Transfers the 56V from the converter to the Starlink dish while receiving and relaying internet data packets to the router.
- DC Power Supply Cables: Connect the DC converter to the camper's power supply. You can use twin-core or multiple single-core cables.
- RJ45 Ethernet Cable: Conveys Starlink internet data to the router via the PoE injector.
- DC-Powered WiFi Router: Configures your Starlink internet for wireless (WiFi) connectivity, shareable with multiple devices.
- Screwdriver: The tool to secure the power supply cables from the DC-to-DC converter to the PoE injector's screw-on terminals.
Step 1: Make a Custom Power Supply Board
We mounted the converter and PoE injector on a small piece of wood, with their terminals pointing in the same direction. This wasn't an attempt to replicate the Gen 3 conversion adapter (which didn't exist then). But it was inspired by our previous DIY Starlink Gen 2 DC power setup for a neat, centralised installation. The board kept the two PoE injector ports on the opposite side for easy access without interference from power supply cables.
Step 2: Power Up the Starlink PoE Injector
Connect the output wires of the converter to the Starlink PoE injector, ensuring correct polarities: the yellow (positive) wire to the positive (+) terminal and the black (negative) wire to the negative (-) terminal. Then, tighten the terminal screws securely.
Step 3: Prepare the Router for Data Reception
The Starlink PoE injector has two RJ45 ports: "POE" and "LAN". Connect one end of the Ethernet cable to the "LAN" port and the other to the "WAN" port of your router. Ensure both cable connectors fit securely.
Step 4: Power Up Your Starlink Gen 3 Dish
Plug the Starlink cable from your Gen 3 dish to the "POE" port of the PoE injector, ensuring a secure connection.
Step 5: Supply DC Power to the WiFi Router
Next, hook up your router to the appropriate power outlet (USB or cigarette lighter socket).
Step 6: Extend the Input Wires of the Voltage Booster
Now, extend the input terminal wires of the converter with the selected twin-core or single-core cables. Then, add a fuse to the positive wire and crimp both the positive and negative wire connections securely.
Step 7: Supply DC Power to the Voltage Booster
After extending the input wires of your converter, connect them to your battery bank busbars or battery studs using the correct polarities. If everything is connected correctly, the built-in indicator on the Starlink GigE PoE injector will light up. It indicates that the Starlink Gen 3 dish is powered and ready to configure for WiFi connectivity.
Step 8: Configure Your Starlink Internet for WiFi
With power supplied to the converter and router, your Starlink Gen 3 system should turn on and come online. Position your Starlink dish with a clear view of the sky for optimal communication with SpaceX's LEO satellites overhead. Then, connect to the router's WiFi network and enjoy your satellite internet.
How Much Does a DIY Starlink Gen 3 DC Power Supply Cost?
The estimated cost of components for the first DIY method is about $400, including the router. While relatively expensive, it ensures your Starlink internet is up and running in an hour or less.
Meanwhile, the second DIY method costs between $200 and $250. Though cheaper, this method may take up to three hours to complete due to the additional setup steps.
Ease of Installation or Lower Cost?
Both DIY methods are excellent for powering your Starlink Gen 3 in campervans, caravans, RVs, and motorhomes. If time is critical, the first method using the Gen 3 adapter is ideal. The second method, using a standard 12V-to-56V step-up converter, costs about half as much but requires more time to set up.
Alternatively, you can opt for complete Starlink Gen 3 DC conversion kits now available on the market. They come in various configurations, with some options as affordable as under $250 and still plug-and-play. Our two main examples include:
- Starlink Gen 3 12V/24V DC Conversion Hub Adapter
- Starlink Gen 3 12V/24V Plug and Play Conversion Kit
FAQ: Powering Starlink Gen 3 in Your Camper
What voltage does the Starlink Gen 3 kit require?
The Starlink Gen 3 internet kit requires a minimum of 56V DC. Since most campervans and caravans in Australia are 12V (some 24V), you must boost your camper's voltage to 56V using a conversion adapter or a 12V-to-56V step-up converter.
Is running Starlink Gen 3 on DC more efficient than using the AC power brick?
Yes. A DC power supply can save 17–30% of power compared to running the original AC power brick, which matters when you're living off your battery bank.
How much does a DIY Starlink Gen 3 DC power supply cost?
The quickest method costs about $400 including the router, while the cheapest method costs between $200 and $250 but takes up to three hours to set up.
How fast is Starlink Gen 3 while off-grid?
On good days, the Starlink Gen 3 achieves 500+ Mbps downloads and 50+ Mbps uploads, giving digital nomads fast, reliable connectivity off-grid.
Prefer to skip the DIY route? Check out the plug-and-play Starlink Gen 3 12V/24V Conversion Kit and get online in minutes.