The cigarette lighter socket is the most common method for powering the Starlink Mini in campervans, caravans, RVs, motorhomes, and vehicles (cars, vans, or trucks). It's a standard, user-friendly DC outlet, accessible even to non-technical users.
However, vehicles and campers typically have a limited number of cigarette lighter sockets. If the existing sockets are already in use or damaged, you'll need to install a new one for the Starlink Mini car adapter. Otherwise, sharing sockets among accessories can be inconvenient and may result in intermittent connectivity.
In this guide, we'll share some simple methods you can use to add a cigarette lighter socket for the Starlink Mini car adapter in your campervan, caravan, RV, car, or truck. But first, let's briefly highlight some essential points about the socket itself.
Why You Need a Cigarette Lighter Socket, Regardless of Your Starlink Mini Car Adapter
Since the Mini kit came out in 2024, we've been talking about the Starlink Mini car adapter. We prefer calling it the Starlink Mini cigarette lighter adapter, as it draws power from a vehicle or camper's cigarette lighter outlet.
Starlink recently introduced its official car adapter for the Mini kit. At first glance, it resembles a standard cigarette lighter adapter with a USB-C port, distinguished by "STARLINK" branding. Its build quality surpasses most third-party adapters, and it includes a status LED indicator on top.
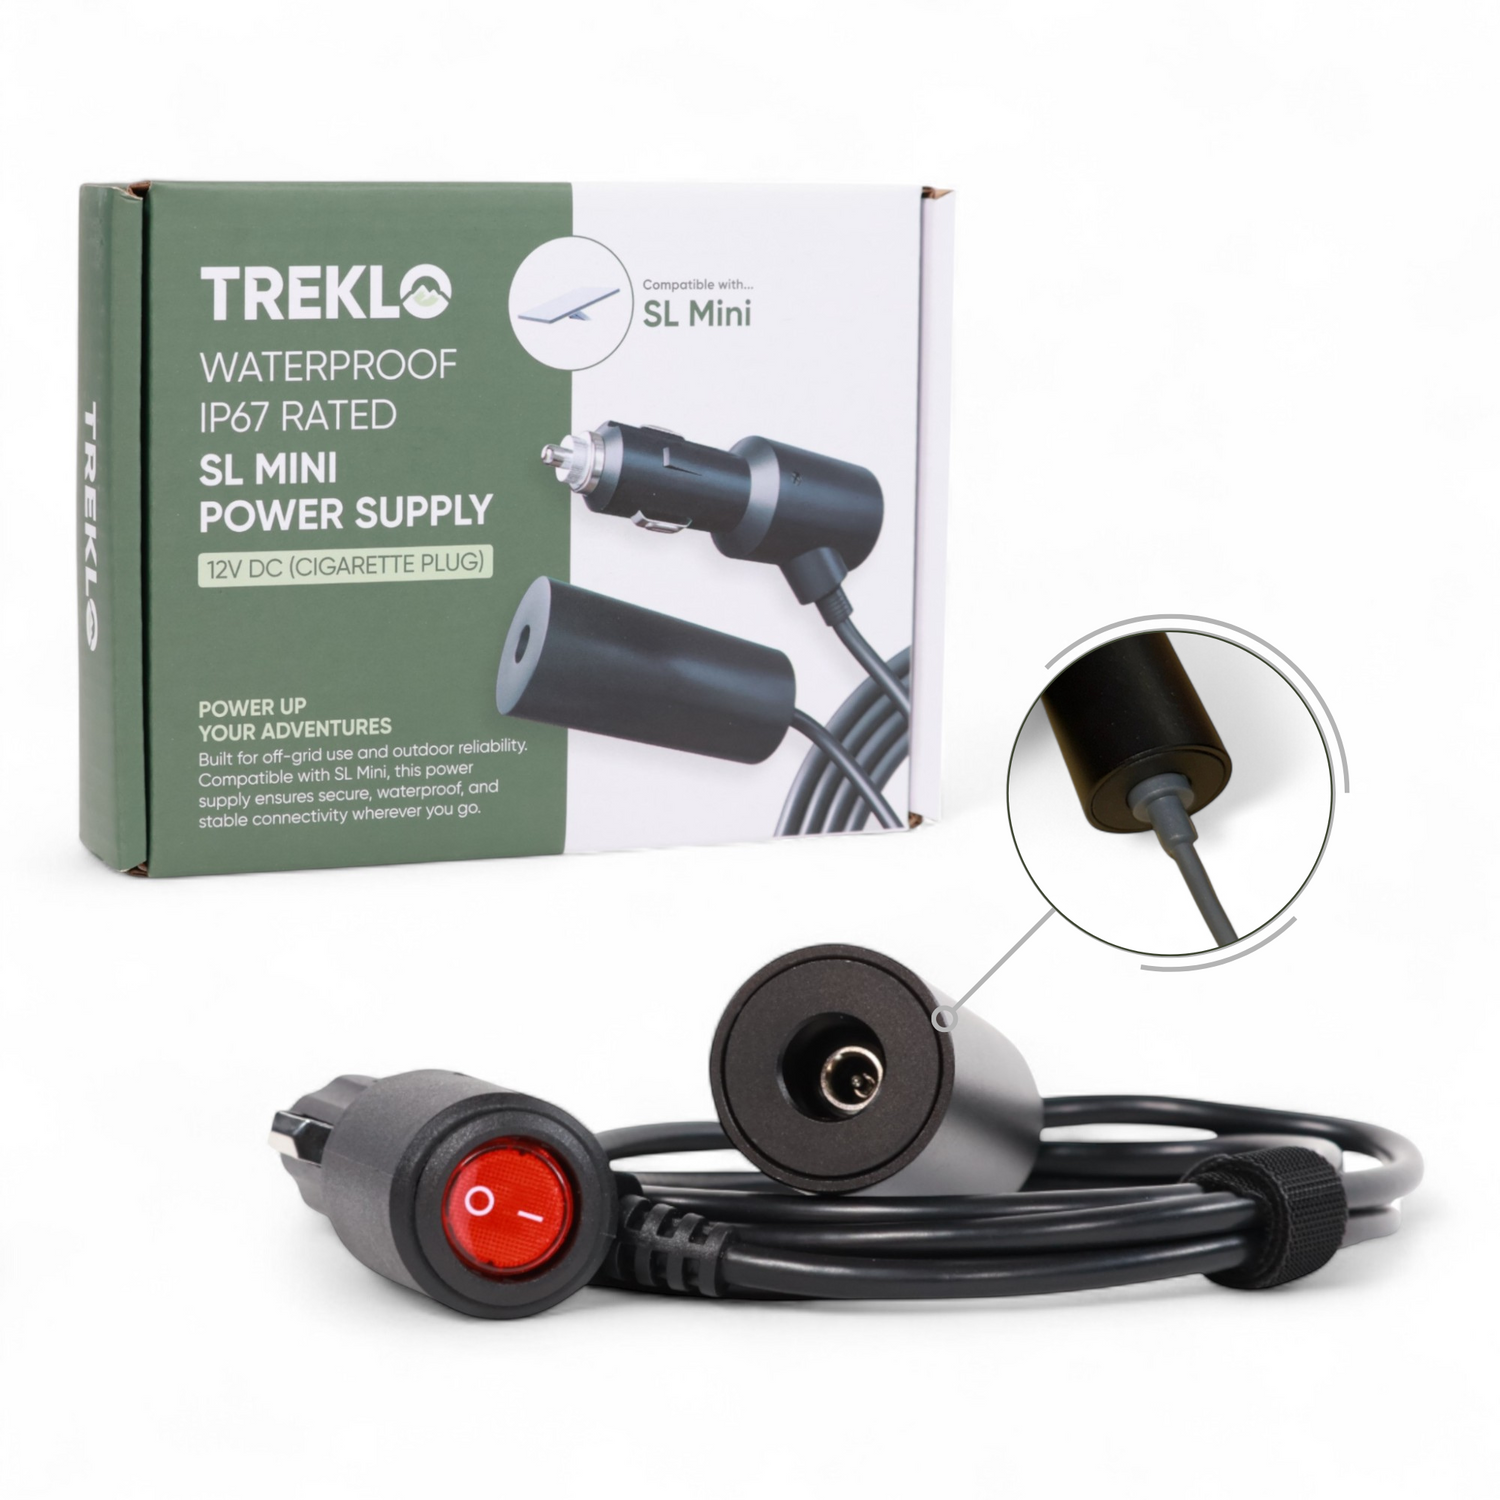
However, some third-party adapters are as good as the official one in performance and reliability. For example, the Starlink Mini Plug-and-Play IP67 Adapter features a sleek design with voltage step-up technology, converting a fluctuating 12V or 24V input to a stable 30V output.
Although the Starlink Mini is rated for 12V to 48V, its included power supply brick converts 100–240V AC to 30V DC. Thus, the new cigarette lighter plug-to-DC5521 adapter, with its constant 30V output, ensures reliable operation. Additionally, its DC5521 port maintains a waterproof connection when paired with the Starlink Mini's barrel-jack-to-barrel-jack DC power cable.
Regardless of whether you use the official or a third-party adapter, a cigarette lighter outlet remains necessary to power your Starlink Mini car adapter.
How Do You Add a Cigarette Lighter Socket in a Campervan, Caravan, RV, or Vehicle?
There are three primary methods to add a 12V cigarette lighter socket for your Starlink dish. They include:
Method 1: How to Wire a Cigarette Lighter Socket from the Main DC Fuse Panel
This method involves adding a socket by tapping into the main fuse box. To proceed:
What You'll Need
- DC blade fuse
- Piggyback fuse holder
- Automotive test light
- 1x Ring terminal connector
- 2x Heat-shrink butt connectors
- 2x Insulated female spade connectors
- Standard cigarette lighter power socket
- Multipurpose wire stripping and crimping tool
- 14AWG to 18AWG twin-core wiring cable (or two single-core cables)
Step-by-Step Installation
- Gather all materials on your worktable.
- Locate the main fuse box under the driver's side dashboard for power tapping.
- Decide whether the socket should be "always on" or "ignition on." Use the test light (grounded to the door bolt) to identify the appropriate fuse. An "always on" fuse will light the test light even with the ignition off, while an "ignition on" fuse will not.
- Mark the chosen "always on" or "ignition on" fuse with tape, then return to your worktable.
- Strip the ends of your wiring cables, attach insulated female spade connectors to one end of each (positive and negative), and crimp them securely.
- Insert the other stripped end of the positive wire into the butt connector of the wire tap from the piggyback fuse holder. Then, crimp the connection.
- For the negative wire, attach a ring terminal connector to the other stripped end and crimp securely.
- Now, connect the positive and negative wires to the socket's male spade terminals, ensuring correct polarities to avoid reverse polarity issues.
- Next, attach the negative wire's ring terminal to an earth point bolt behind the outer door sill trim (remove the trim carefully to access it).
- With the circuit's return path established, insert the piggyback fuse holder into the marked fuse slot from Step 4. The socket should now be powered and ready to operate your Starlink Mini car adapter. Test it with the adapter or a simple accessory, like a car Bluetooth adapter.
Mount Your New Socket
Your new socket can power the dish's adapter while loosely positioned on the dashboard or centre panel. However, mounting it securely ensures a neater, safer, and more professional installation.
Our cigarette lighter sockets are designed for easy mounting, featuring a faceplate that allows secure attachment even if the locknut cannot be accessed from behind. Simply drill a hole, insert the socket, and secure it by screwing on the faceplate.
Method 2: How to Connect a Cigarette Lighter Socket Directly to a Battery
A second method is connecting directly to a battery, either a starter or leisure battery. It is an ideal solution for a quick installation in your vehicle, campervan, caravan, or RV.
What You'll Need
- Inline fuse holder
- 2x Ring terminal connectors
- 2x Heat-shrink butt connectors
- 1x Insulated female spade connector
- Standard cigarette lighter power socket
- Multipurpose wire stripping and crimping tool
- 14AWG to 18AWG twin-core wiring cable (or two single-core cables)
Step-by-Step Installation
- Gather all required materials.
- Select a wiring route from the socket's mounting point to the battery location. Measure the required cable length and cut it accordingly.
- Strip the ends of the cut wires, attach spade connectors to one end of both the positive and negative wires, and crimp them securely.
- Next, connect the spade connectors to the socket's terminal points.
- Now, attach a ring terminal connector to the negative pigtail wire and crimp it securely.
- For the positive pigtail, slip a heat-shrink butt connector over the stripped end, add the stripped end of an inline fuse holder, and crimp the connection. Then, attach a ring terminal connector to the other end of the fuse holder wire and crimp it.
- With the socket having a fused positive wire and a negative wire, both with ring terminal connectors, connect them to the battery terminals, ensuring correct polarities.
- If you have done everything correctly, the socket should be powered at this point, ready to operate your Starlink Mini car adapter.
Secure Your New Socket in Place
While you could leave the socket dangling, mounting it provides a secure and tidy installation. Drill a mounting hole (matching the socket's barrel diameter), insert the socket, and secure it.
Our sockets typically include both a faceplate and a locknut for the threaded barrel. Thus, you can secure the socket by screwing on the faceplate, tightening the locknut (if accessible), or using both methods.
Method 3: How to Add a 12V Socket by Tapping into a Splice Connection
Another way to add a socket in your vehicle or camper is by tapping into the power lines of an existing accessory. This method is particularly useful when hardwiring to a leisure battery with distant or fully occupied connection terminals.
Like the previous methods, tapping into an accessory's splice connection is a straightforward process, as easy as connecting point A to point B.
What You'll Need
- 2x Closed-end connectors
- 2x Female spade connectors
- 1x Heat-shrink butt connector
- Inline fuse holder and fuse
- Standard cigarette lighter socket
- Multipurpose wire stripping and crimping tool
- Pre-existing DC accessory (e.g., another DC socket)
- 14AWG to 18AWG twin-core wiring cable (or two single-core cables)
Step-by-Step Installation
- Gather all necessary materials.
- Remove the device you plan to tap into from its mounting location.
- Pull the device's wires to access the splice connections leading to the battery terminals or DC fuse box, ensuring you locate both positive and negative terminals.
- Remove the connectors from the splice connections by squeezing or snipping them off with pliers.
- Strip the ends of your wiring cable for both positive and negative connections, attach a female spade connector to one end of each, and crimp them.
- For the positive wire, slip a heat-shrink butt connector over the other stripped end, add one stripped end of the inline fuse holder, and crimp the connection.
- Next, merge the other stripped end of the fuse holder with the positive splice connection wires from Step 4, slip on a closed-end connector, and crimp it. Repeat the process for the negative line.
- With the wiring cables tapped into the accessory's circuit, connect the spade connectors (from Step 5) to the socket's terminal points.
- If the battery power source is on, the socket should be powered. Test it by plugging in your Starlink Mini car adapter and connecting the supply cable to the dish. You can also test with a simpler accessory like a car charger or Bluetooth music adapter.
Mount the Socket
As with the other methods, we recommend mounting the socket for a cleaner appearance. Drill a mounting hole specific to the socket's size, then secure it with the provided locknut or by screwing the faceplate in place.
Remember to Add Heat-Shrink Tubing
In summary, you can use any of these three methods to install a cigarette lighter socket for the Starlink Mini car adapter in your vehicle, campervan, caravan, RV, or motorhome. Each is straightforward and manageable on your own, though hiring a professional technician is always an option.
When drilling a mounting hole for your socket, verify there's sufficient clearance behind for the socket's barrel and easy wire routing.
Also, not all connectors include heat-shrink or insulation. If yours lack these, add heat-shrink tubing to all crimped connections for extra protection against electrical faults and harsh environmental conditions.
Frequently Asked Questions
Does the Starlink Mini need a special 12V socket?
No — a standard cigarette lighter socket is all you need. The adapter (official or third-party) plugs into the socket and supplies the dish. Just make sure the socket isn't shared with other accessories, as this can cause intermittent connectivity.
What voltage does the Starlink Mini run on?
The Starlink Mini is rated for 12V to 48V DC, and its included power supply brick converts 100–240V AC to 30V DC. Step-up adapters such as the Plug-and-Play IP67 model convert a fluctuating 12V or 24V input to a stable 30V output for reliable operation.
What size wire should I use for a cigarette lighter socket?
All three methods in this guide use 14AWG to 18AWG twin-core wiring cable (or two single-core cables), with a fuse on the positive line via an inline or piggyback fuse holder.
Which installation method is easiest?
Tapping into the splice connections of a nearby accessory (Method 3) is often the simplest, as it provides reliable power without needing to locate the battery or fuse box. Direct battery connection (Method 2) is ideal for a quick installation.
Ready to get your Starlink Mini online on the road? Grab a quality cigarette lighter power socket from Campervan Builders — complete with faceplate and locknut for a clean, secure mount — and set it up with the method that best suits your vehicle.