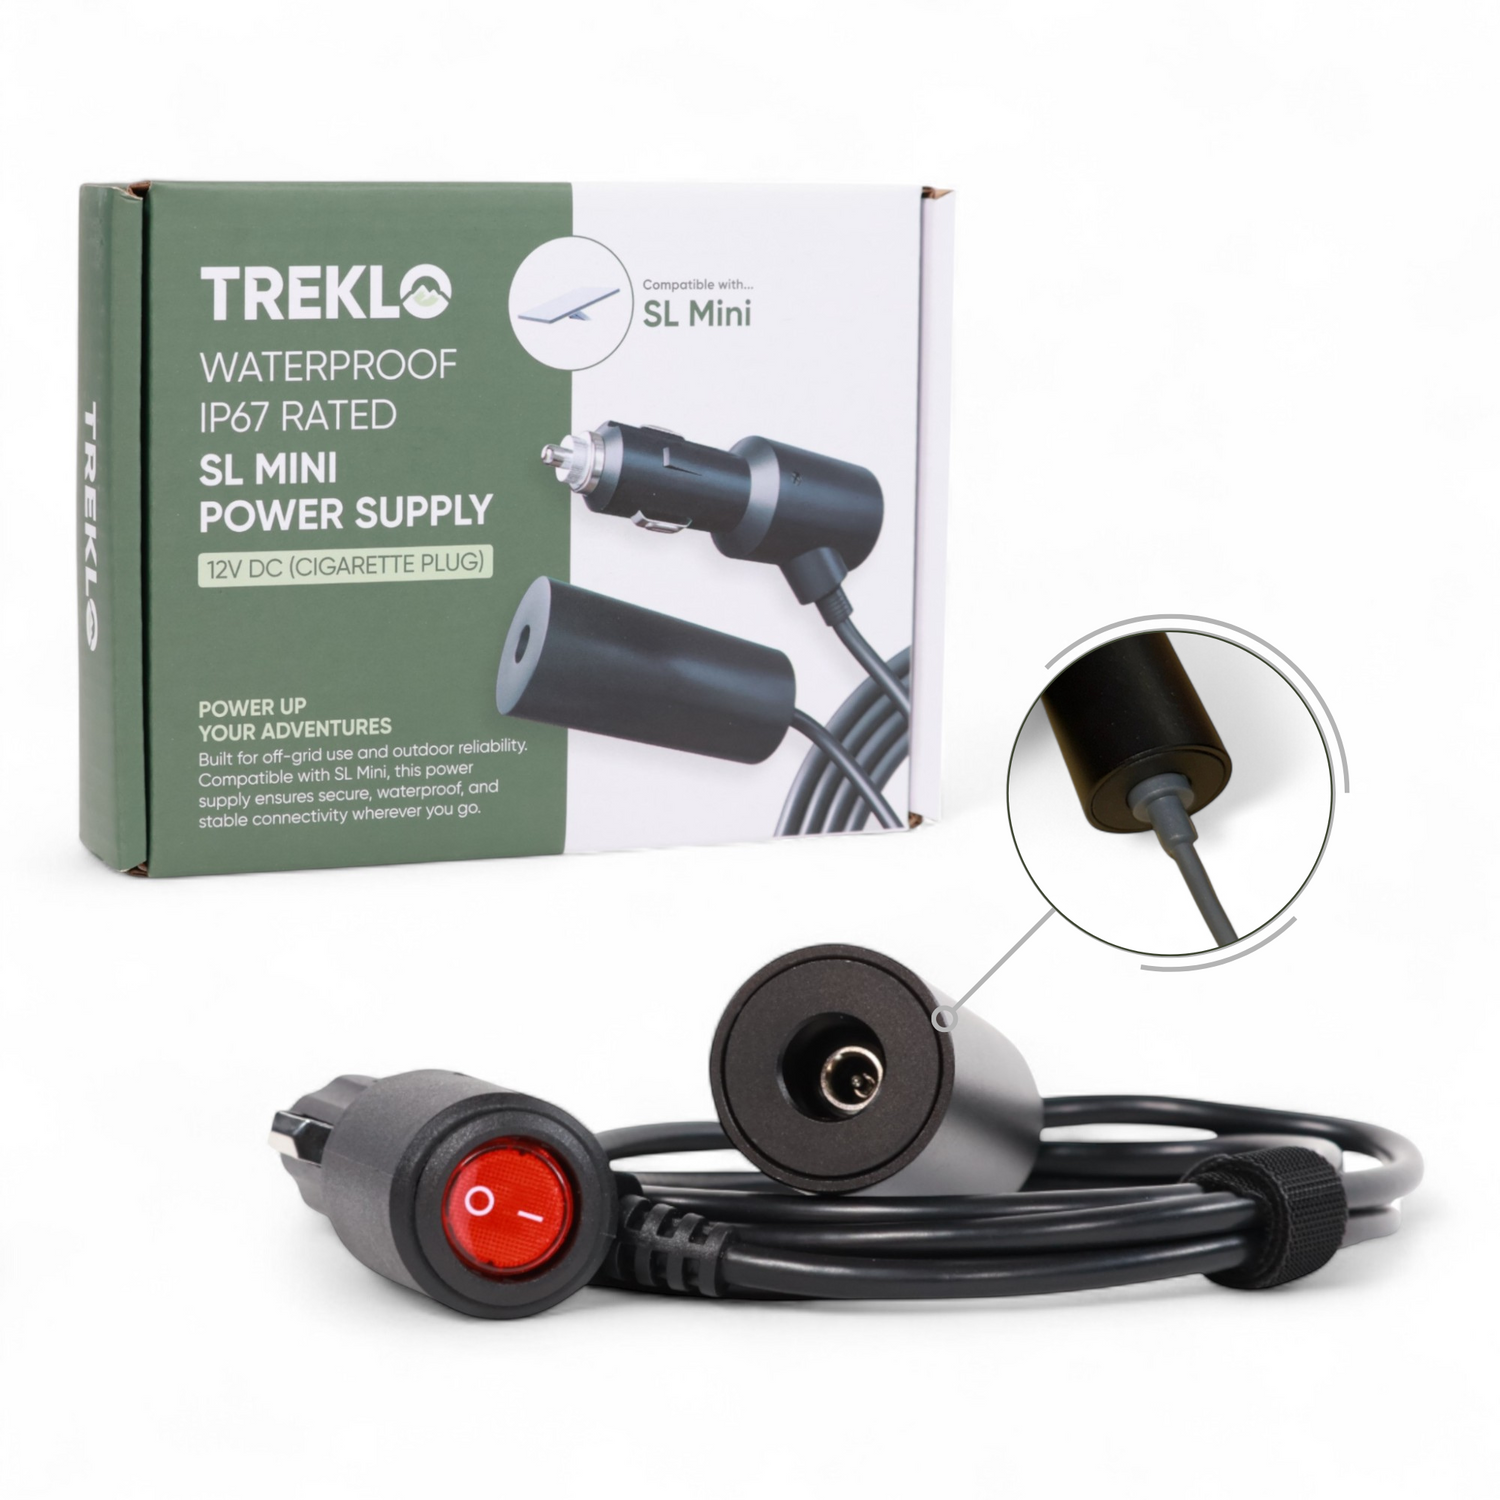
USB sockets are essential in campers for charging and powering accessories on the go. The new 12V USB-C 100W Power Socket is one of the best DC receptacles available, as it enables you to power a Starlink Mini without upgrading your battery system to 24 volts.
In this guide, we'll share details on how to install the socket on the wall panel or cabinet of your caravan, campervan, RV, or motorhome. It's a straightforward DIY process that you can do quickly using readily available components.
Why Power a Starlink Mini from 12V with a USB-C 100W Socket?
If you want to power your Starlink Mini via USB from the 12V DC system of your campervan, caravan, RV, or motorhome, this socket is a must-have.
Typical USB sockets deliver 100W (20V @ 5A) power only with a 24V electrical system. However, this innovative USB-C 100W socket achieves the same 20V @ 5A output directly from a 12V battery system, which is a significant advantage for caravanners, RVers, and boondockers.
The USB socket features an integrated power step-up system that produces and stabilises the 20V @ 5A output, meeting Starlink's recommendation for optimal Mini kit performance via the USB-C to barrel jack cable. This 100W output ensures consistent connectivity of the Starlink Mini year-round, including the ability to power the dish's built-in heater to melt surface ice.
In addition to the USB-C Power Delivery (PD) outlet, the new socket includes a USB-A port with Quick Charge (QC3.0) protocol, delivering up to 18 watts. While this is less for powering the Starlink kit, it's sufficient to charge low-power devices like phones, tablets, smartwatches, or GPS units.
USB-C Socket Dimensions and Cut-Out Size
Overall, the power output is the most standout feature of this socket, but its design is equally impressive. Its housing is crafted from CNC-machined aluminium, ensuring durability without the cracking or warping common in plastic alternatives.
The integrated miniature power step-up system has also allowed the socket to deliver 20V @ 5A while maintaining the standard USB socket dimensions: a 44mm faceplate diameter and 55mm total depth. Hence, it requires minimal space for mounting.
Speaking of mounting, the socket's mounting hole cutout is approximately 30mm wide. With this, you could slot in a hole previously used for standard cigarette lighter sockets — ideal for replacements or upgrades.
In this guide, we are installing the socket from scratch. The guide will focus on mounting the socket to a wall panel or cabinet, albeit the process is similar for centre panels and other surfaces.
How to Install a USB-C 100W Power Socket for Starlink Mini
Again, adding the new USB-C socket to your campervan, caravan, RV, or motorhome is very simple.
What's needed
- USB-C 100W Power Socket
- Inline fuse holder with 10A fuse
- 30mm hole saw and drill
- Wiring cable (1.13mm²)
- 2x O-ring terminal connectors
- 3x heat-shrink butt connectors (1.5mm²)
- Multipurpose wire stripping and crimping tool
Cut the mounting hole
Gather all tools and components on your worktable. Then, use a drill and 30mm hole saw to create a mounting hole at your chosen location on the wall panel or cabinet.
The socket has a 44mm faceplate, thereby you can cut a slightly larger hole (e.g., 31mm or 32mm), depending on your hole saw blade size.
Cut the wiring cable
Select a positive and a negative cable to run from your power source to the socket's mounting location. In our setup, the fuse block was full, and we needed a permanent installation. Therefore, we decided to wire the socket directly to the battery busbar. We also used a twin-core 3mm auto cable (1.13mm²), rated for up to 16 amps.
Once you have the twin-core (or two single-core) cable to use, lay it along the wiring route from the busbar to the mounting point. Then, measure the exact length of the cable needed, cut it, and strip its ends.
Wire up the socket
You should wire your socket early to make the rest of the process easier. The socket comes with pre-stripped positive (red) and negative (black) terminal pigtails, so you only need to connect them to the extension wiring cable.
To do that, slip a heat-shrink butt connector over the positive pigtail until its wire extends through the other side. Join this wire with the stripped red wire of your extension cable, twist them tightly, and slide the butt connector over the joint, ensuring its solder is at the centre. Then, grab your crimping tool and crimp the connection.
Repeat this process for the negative pigtail and the black wire of your extension cable.
Note: We are twisting the wires before crimping to ensure a secure connection. If you lack a crimping tool, use a heat gun or blow torch to melt the solder. The heating with the gun/blow torch also shrinks the connector's heat-shrink tubing for a weather-resistant joint.
Fuse up the USB socket
The socket includes built-in safeguards to protect your device (Starlink Mini) against electrical faults, primarily overcurrent and overvoltage.
However, you should add an inline fuse holder with a fuse along the positive wire to protect the socket as well. Place the fuse closer to the battery busbar for maximum performance.
Tip: While our socket only draws 3.5 amps, we used an inline blade fuse holder with a 10A fuse for optimal protection.
Add ring terminal connectors
The new socket needs to connect to the studs of your positive and negative battery busbars. As such, you need to add O-ring terminal connectors to the other stripped ends of the wiring cable for easier, secure connections.
The O-ring connectors you use must match the posts/studs of your battery busbars. Crimp the connectors well too.
Connect the power source and test
Attach the O-ring connectors to the positive and negative busbars, ensuring correct polarities, but do not bolt them down yet. Then, test the socket by plugging in the Starlink USB-C to barrel jack cable. Check the status LED on the cable's USB-C end (or the dish's bottom left corner). If using the official Starlink cable, no light indicates proper function.
Alternatively, for immediate results, you can plug a phone's USB cable into the USB-C or USB-A port to confirm functionality.
Mount and route the wiring
If the test is successful, you can now finalise the installation. Disconnect the wires from the busbar, insert the socket into the mounting hole, and secure it with the included locknut for a flush, sleek appearance.
Route the cables through your preferred path to the busbars (use conduit for added protection against abrasion or mechanical stress). Then, reconnect the O-ring connectors to the busbars with correct polarities and bolt them down for a secure connection.
Tips to Minimise Voltage Drop
Keep wiring cables as short as possible to minimise voltage drop and ensure optimal socket performance. If the battery busbars are distant from your mounting location, you can shorten the circuit by tapping into an existing 12V accessory.
To do this, unmount the accessory (e.g., another 12V socket) you intend to use and access its splice connections to the fuse block or battery busbars. Then, join the USB-C socket's terminal wires to these connections, creating a three-way joint for both positive and negative lines.
Alternatively, you could also install your socket while using your main starter battery as the power source. In this case, you wire the socket by either connecting directly to the battery or tapping into the main fuse panel.
If you opt to tap into the main fuse panel of your camper, ensure the fuse tapped to is from the non-critical connections. The piggy back tap fuse holder you're using should also be compatible with the slots on the fuse panel.
Can You Connect Multiple USB-C Sockets for More Outputs?
Installing the USB-C 100W Power Socket in your campervan, caravan, RV, or motorhome is straightforward. With the listed components, you can be connected within minutes, ready to power your Starlink Mini for a more enjoyable and productive trip.
As noted, the socket's versatile ports can power or charge devices beyond the Starlink Mini. You can even chain multiple sockets in parallel on the same circuit, which is useful when power source points are limited.
When wiring multiple sockets or tapping into an existing accessory, ensure the size of your fuse matches the total amperage of the circuit. In your setup, use a master fuse near the battery for the entire circuit and a secondary fuse on each accessory's positive wire for added protection.
Frequently Asked Questions
Can you run a Starlink Mini from a 12V system?
Yes. While typical USB sockets deliver 100W (20V @ 5A) only with a 24V electrical system, this socket features an integrated power step-up system that achieves the same 20V @ 5A output directly from a 12V battery system — meeting Starlink's recommendation for optimal Mini kit performance via the USB-C to barrel jack cable.
What size cut-out does the USB-C socket need?
The mounting hole cutout is approximately 30mm wide, with a 44mm faceplate diameter and 55mm total depth. You can even slot it into a hole previously used for a standard cigarette lighter socket.
What fuse should I use for the socket?
Although the socket only draws 3.5 amps, we used an inline blade fuse holder with a 10A fuse for optimal protection, placed close to the battery busbar on the positive wire.
Can the socket charge devices other than the Starlink Mini?
Yes. In addition to the USB-C Power Delivery (PD) outlet, it includes a USB-A port with Quick Charge (QC3.0) protocol delivering up to 18 watts — sufficient for phones, tablets, smartwatches, or GPS units. You can also chain multiple sockets in parallel on the same circuit.
Ready to get your Starlink Mini running from 12V? Order the USB-C 100W Power Socket and have reliable internet on every trip.