Do you switch off your Starlink Mini when going to sleep or heading out for a nature walk? You should consider it to conserve your battery power — and there is now a Starlink Mini remote that lets you turn your internet on or off with the simple push of a button.
Whether your Starlink Mini is powered from the tow vehicle, a storage box or the boot, the remote gives you convenient control from inside your caravan, campervan, motorhome or boat. It allows you to control your Starlink Mini from up to 60 metres away — perfect for turning it off from the comfort of your bed, or without leaving the warmth of your caravan on a rainy night.
Best of all, the TREKLO Starlink Mini Inline Remote is incredibly easy to install. You simply insert the receiver into your existing Starlink power connection — a quick task that anyone can do.
Is the Starlink Mini Inline Remote Compatible with My Caravan?
Yes. The TREKLO Starlink Mini Inline Remote is designed specifically for the Starlink Mini kit. Like the Mini itself, it accepts a wide 12–48V DC input, making it compatible with the power systems found in most caravans, campervans, RVs and boats.
The device mounts directly in line with your Starlink Mini's power supply, so you just have to ensure your DC power source can comfortably deliver the combined power requirements of both the Starlink Mini and the remote for optimal performance.
Other features you should know about this remote system before getting it for your Starlink internet kit include:
Multiple Remote Controls
The kit includes the main inline receiver unit plus two remote fobs. You can keep one fob by the bed and the other in the living area — or attach it to your keyring so you can move around with it.
Durable Weatherproof Build
Both the receiver and the remote fobs are built tough for long-term reliability. The receiver unit is IP66-rated, so you can mount it almost anywhere without worrying about dust, splashing water or rain.
Dedicated Starlink Mini Ports
The receiver features input and output cables that connect seamlessly to your existing Starlink Mini cable — no extra adapters or accessories needed.
Instant Power Control
The remote doesn't just turn your Starlink off — it shuts it down instantly. This helps conserve your precious battery power and gives you a significantly longer runtime.
Extended Remote Range
This remote system offers a long transmission range of up to 20 metres in standard conditions and up to 60 metres with a clear line of sight. As a result, you can comfortably turn your Starlink Mini on or off from almost anywhere within your camping area.
Simple Maintenance
The remote control fobs operate on a standard CR2032 lithium battery. This battery is widely available and can last anywhere from 1 to 5 years, depending on usage frequency and environmental factors such as temperature. You should therefore be able to complete several trips before needing to replace them.
What Do I Need to Install the Starlink Mini Remote in My Van or Boat?
In a nutshell, installing the remote requires no tools. The input cables on the receiver unit are specifically designed to connect seamlessly to your existing Starlink Mini power supply setup.
The input is a short cable ending in the proprietary Starlink barrel jack, complete with waterproof seals for direct compatibility with the original or approved Starlink Mini power accessories.
The output, on the other hand, is a short cable ending in the proprietary Starlink female DC port. This port is designed to accept the original or replacement Starlink cable while maintaining the waterproof seal.
With this design, you can easily install the new Starlink Mini remote system in your van or boat yourself. However, the exact installation steps will depend on which power configuration you are currently using for your Starlink satellite internet.
| Power Setup | Type of Input | Type of Output | Output Voltage |
|---|---|---|---|
| Starlink Mini Cigarette Lighter Power Supply | Cig Adapter | Starlink Female DC Port | 30 volts |
| Starlink Mini Anderson Plug Power Supply | Anderson Plug | Starlink Female DC Port | 30 volts |
| Starlink Mini Cigarette Lighter Adapter Charger | Cig Adapter | Starlink Male Barrel Jack | 30 volts |
| Starlink Mini 12V Step Booster Converter Kit | Bare Wire or Anderson Plug | Starlink Male Barrel Jack | 30 volts |
| Original Starlink Mini 230V AC Charger Adapter | — | Starlink Female DC Port | 30 volts |
How Do I Set Up the Starlink Mini Remote with a Cigarette Lighter Power Supply?
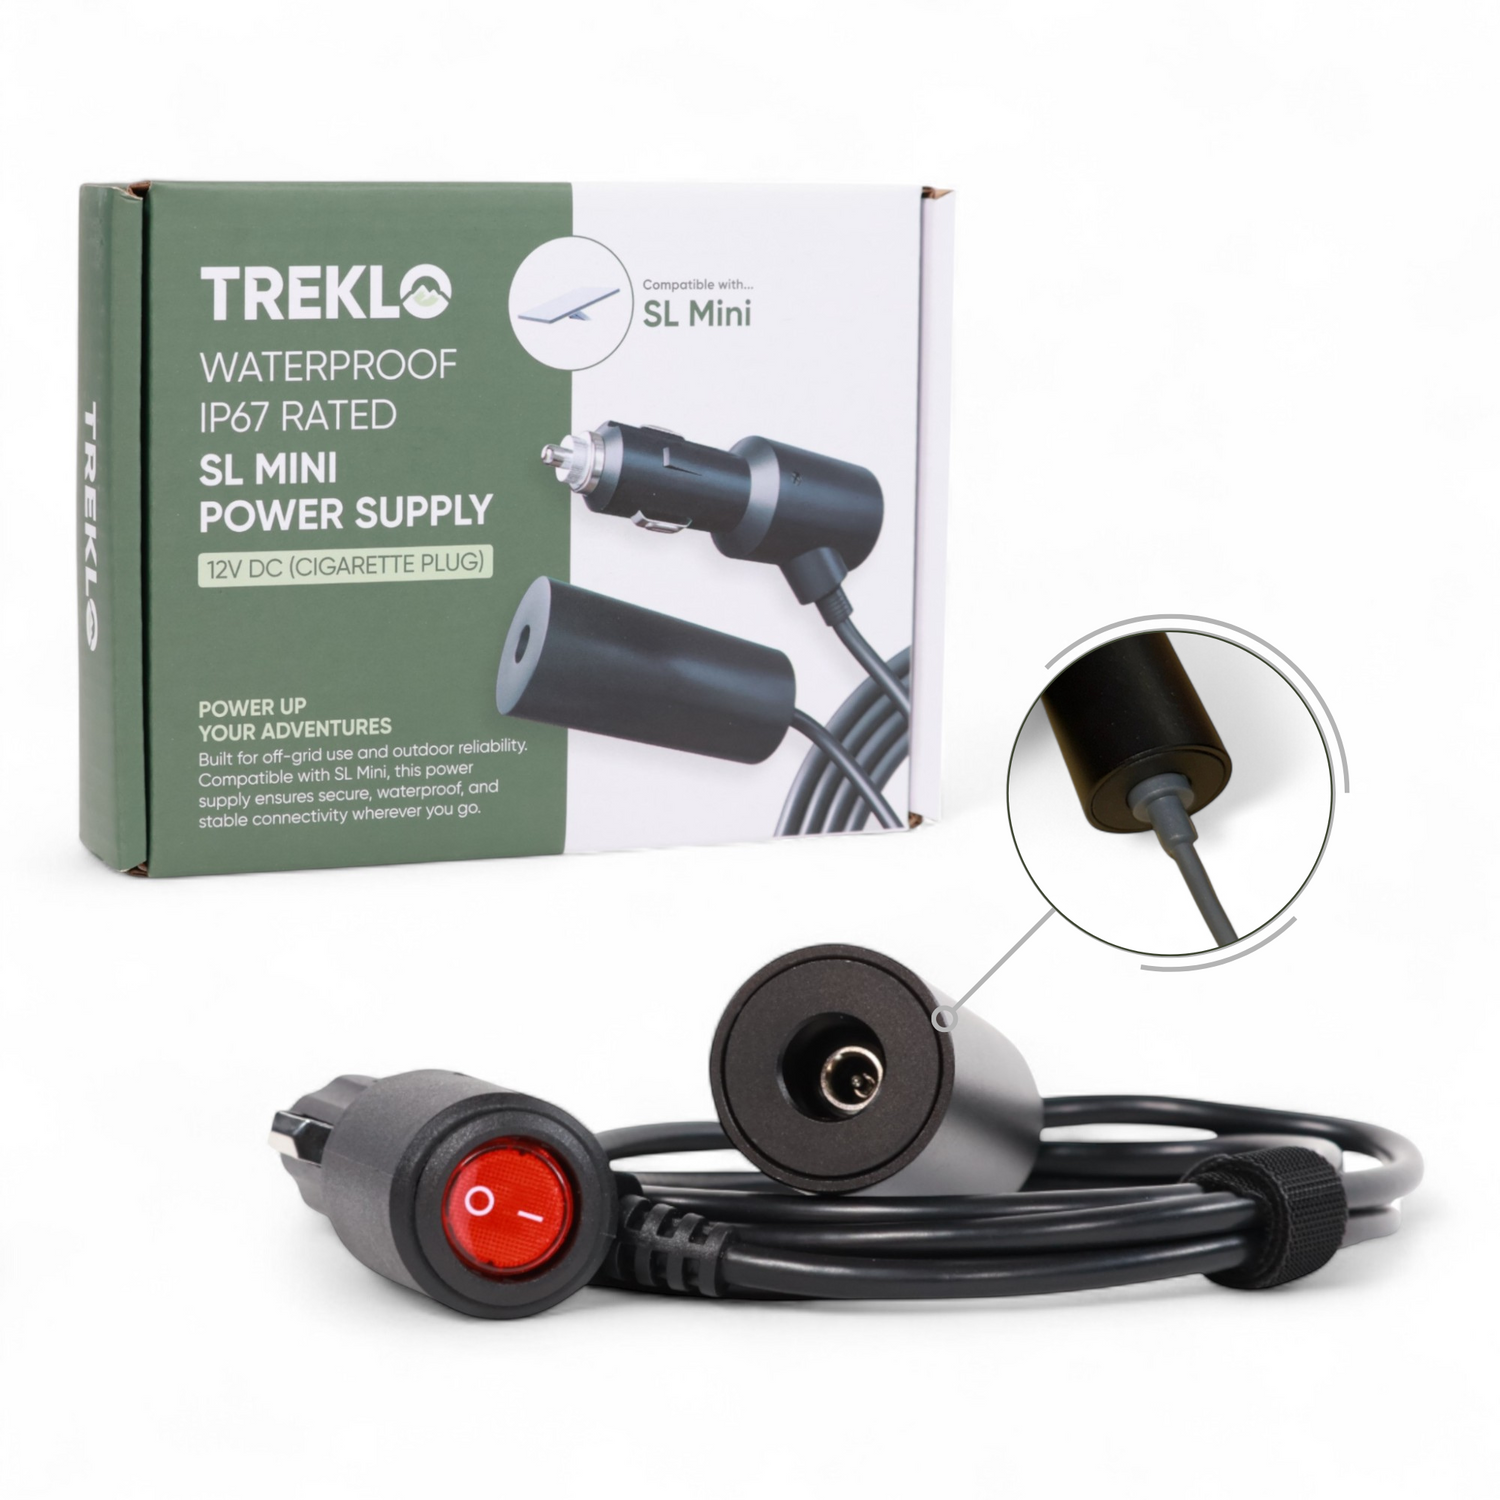
The first way to set up the remote in your adventure van or boat is with the popular cigarette lighter adapter for the Starlink Mini. The remote is specifically designed to complement our Starlink Mini Boosted Plug-and-Play IP67 Cigarette Lighter Adapter, which provides output through the dedicated Starlink female DC port.
To install the remote with this adapter, you simply:
- Switch off the power to the cigarette lighter socket you are using.
- Connect the input barrel jack of the remote's receiver to the female DC port on the Boosted IP67 Cigarette Lighter Adapter. Then, plug the adapter back into the cigarette lighter socket.
- Connect one end of your Starlink Mini cable to the output port of the remote's receiver unit, and plug the other end into your Starlink dish.
- Switch the power back on to the cigarette lighter socket.
Your remote is now successfully installed and ready to use. For best results, test the system with both supplied remote fobs to confirm everything is working correctly.
This Boosted Plug-and-Play IP67 Cigarette Lighter Adapter delivers a stable 30 volts — the minimum voltage Starlink Mini requires for optimal performance. You can therefore enjoy reliable wireless remote operation and consistent internet connectivity without intermittent shutdowns.
How Do I Set Up the Remote with an Anderson Plug Power Supply?
The second method is with the Starlink Mini Boosted Plug-and-Play IP67 Anderson Plug Adapter. This works in the same way as the Cigarette Lighter Adapter above, since the Anderson Plug power supply also features the dedicated Starlink female DC port for output.
If you are already running your Starlink Mini with the Anderson Plug system, installing the remote receiver is almost identical to the previous method. You simply replace any reference to the "cigarette lighter socket" with the Anderson Plug output and replace "Cig Adapter" with "Anderson Plug Adapter".
It's worth noting that our Starlink Mini Boosted IP67 Anderson Plug Adapter also delivers a stable 30V. This ensures that both the Starlink Mini dish and the remote system operate reliably and consistently.
How Do I Set Up the Remote with the Boosted 60W Cigarette Plug Charger?
The third method is by using the Boosted Starlink Mini 60W Charger. This charger features a proprietary barrel jack output, so the installation process is slightly different from the previous two methods.
You will need a Starlink Mini Female-to-Female DC Joiner to connect the two male barrel jacks and allow power to flow. Once you have the joiner:
- Switch off the power to the cigarette lighter socket that the Boosted Starlink Mini Charger is plugged into.
- Connect the output barrel jack of the Boosted Starlink Mini Charger to one end of the Female-to-Female DC Joiner. Then, plug the input barrel jack of the remote's receiver into the other end of the joiner.
- Connect one end of your Starlink Mini cable to the output port of the remote's receiver unit. Then, plug the other end of the cable into your Starlink Mini dish.
- Switch the power back on at the cigarette lighter socket and test the supplied remote control fobs.
The Boosted Starlink Mini 60W Charger delivers a stable 30V output, which is well within the power requirements of the remote system. It also provides the ideal voltage for the Starlink Mini kit to operate reliably without a voltage drop.
How Do I Set Up the Remote with the Easy 12V Power Booster?
If your Starlink Mini setup uses the Easy 12V Booster power supply, you can also use it with the new inline remote. The Easy 12V Starlink Mini Booster consists of a DC-DC converter with a proprietary Starlink barrel jack output and a bare-wire or Anderson-style input.
Because it has a barrel jack output, you will need the Female-to-Female DC Joiner to install the remote. The installation steps are almost identical to those for the Boosted 60W Charger above.
Furthermore, this 12V booster steps up the voltage to a stable 30V, ensuring that both the remote and the Starlink Mini operate seamlessly without voltage drops.
Can I Use the Remote with the 230V Charger Adapter?
Finally, you can also set up the remote using the 230V power brick that comes with your Starlink Mini kit. This charger adapter has the proprietary female DC output port, so no extra accessories are required.
To set up, you simply plug the input jack of the remote's receiver directly into the charger adapter's female DC output. Then, connect the remote receiver's output port to the Starlink Mini cable that runs to your dish.
Note that the Starlink Mini 230V charger adapter converts the 230V AC input to the 30V DC required by the Mini dish. As we've said in the past, using this method with an inverter would involve double power conversion, resulting in unnecessary energy loss.
We therefore recommend using this setup only when you have a direct 230V mains source available, such as a portable generator, shore power or a standard wall outlet.
Where Should I Mount the Remote Receiver?
The remote can be installed in virtually any adventure vehicle or boat, and the five methods outlined above cover pretty much every way van-lifers and boat-lifers typically run their Starlink Mini systems.
Whichever method you choose, the remote receiver unit features a mounting hole that allows you to secure it in place. The package you receive also includes a mounting screw, so be sure to use it. It helps prevent the unit from dangling, which can cause frequent disconnections while on the move.
Frequently Asked Questions
How far away can I control the Starlink Mini remote from?
The remote system offers a transmission range of up to 20 metres in standard conditions and up to 60 metres with a clear line of sight — enough to switch your internet on or off from almost anywhere in your camping area.
Do I need tools to install the inline remote?
No. The receiver's input and output cables connect directly to your existing Starlink Mini power supply setup, and the only optional extra is a Female-to-Female DC Joiner for barrel-jack chargers such as the Boosted 60W Charger or Easy 12V Booster.
What battery do the remote fobs use?
Each fob runs on a standard, widely available CR2032 lithium battery, which can last anywhere from 1 to 5 years depending on usage frequency and environmental factors such as temperature.
Will the remote work with my caravan's power system?
Yes. The receiver accepts a wide 12–48V DC input, making it compatible with the power systems found in most caravans, campervans, RVs and boats.
Ready to switch your Starlink on or off without leaving your bed? Grab the TREKLO Starlink Mini Inline Remote from Campervan Builders today and take control of your off-grid internet.