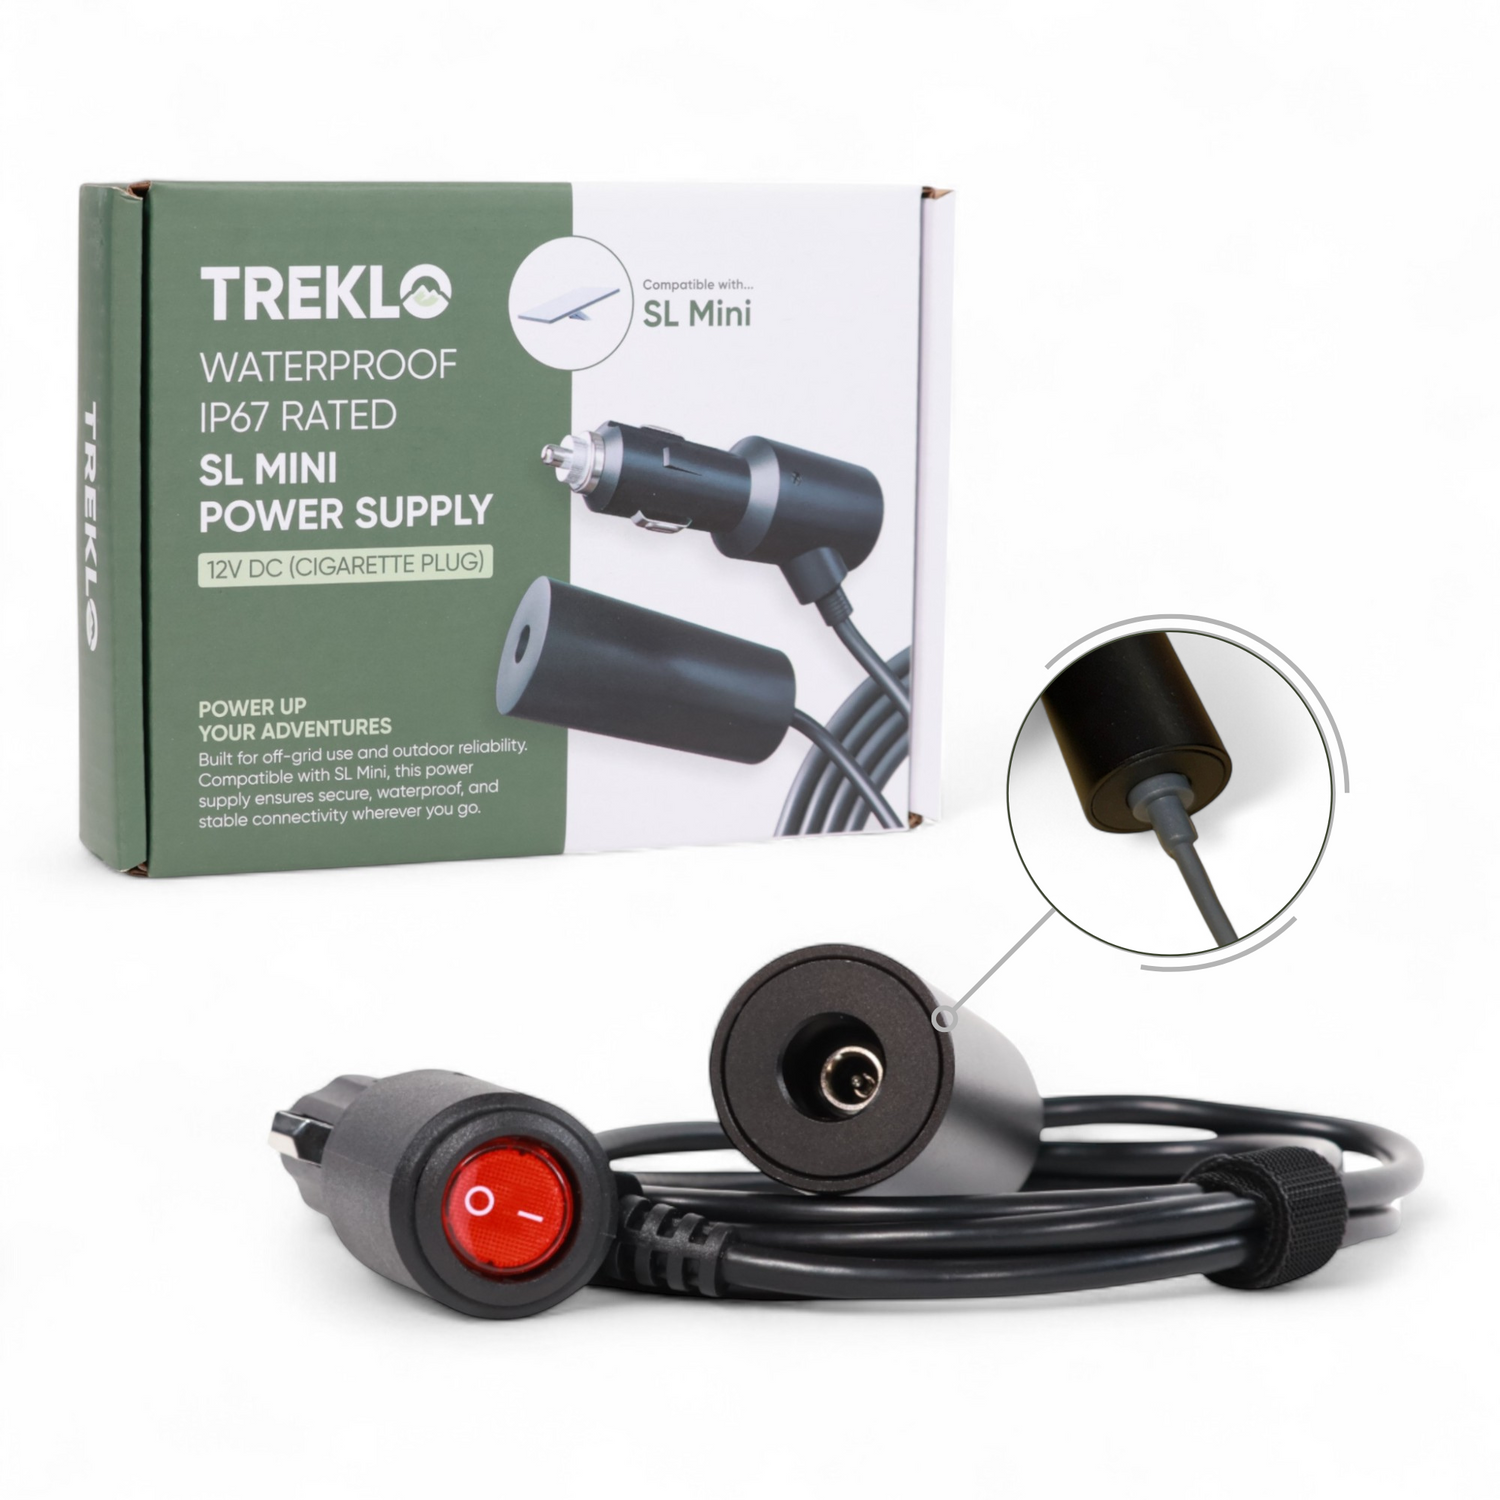
When you equip your camper or vehicle with a Starlink Mini, you need a reliable and consistent power solution. The Starlink DC Power Socket is our latest accessory for powering the Mini kit on the go, offering a secure and dependable connection that ensures uninterrupted power, even in rough terrains.
Unlike plug-and-play adapters, installing this socket requires tapping into an electrical circuit — either a starter battery or a leisure battery. For wall panel mounting, you can even connect to the splice of an existing DC outlet.
In this post, we'll cover two methods to install the socket in your campervan, caravan, RV or vehicle. The two methods involve connecting to either your vehicle's fuse box or tapping into the circuit of another device or accessory.
What Is the Starlink DC Power Socket?
The Starlink DC Power Socket is a specialised accessory designed to power the Starlink Mini in vehicles (cars, vans or trucks) and campers (campervans, caravans, RVs or motorhomes). As its name suggests, it features a DC socket that accepts the barrel jack pin of the Starlink Mini's power supply cable. The socket's output is a female DC5521 port, while the barrel jack pin is a male DC5521.
The socket supports an input voltage range of 10V to 28V and includes advanced voltage step-up circuitry to deliver a consistent 30V output. While the Starlink Mini operates within a 12V to 48V range, the 30V DC output of our socket corresponds to the 30V output of the original AC power supply brick.
In a test with our campervan, we have confirmed that the socket's stable 30V output works seamlessly with the original 50-foot Starlink Mini barrel-jack-to-barrel-jack cable. Despite the cable's length, which can pose a risk of voltage drop in DC circuits, this socket performed flawlessly.
But unlike the plug-and-play Starlink Mini car cigarette lighter adapter, this socket requires hardwiring to the DC (battery) electrical system of your camper or vehicle.
Why Choose a Hardwired 12V Socket for Your Starlink Mini?
We currently offer three main accessories for powering the Starlink Mini in a vehicle or camper:
- Starlink DC power socket
- Starlink Mini car cigarette lighter adapter
- Starlink Mini Anderson Plug power adapter
We have tested all three accessories and can confirm their effectiveness. However, each Starlink Mini power solution offers unique benefits suited to different applications.
The DC socket, for instance, requires hardwiring to the battery system, providing a permanent installation. It also ensures a secure, tight connection that remains stable even on rough, unsealed roads, delivering consistent and reliable connectivity for online work, communication, tracking or entertainment. Other advantages of the hardwired socket include:
Cleaner, Professional Installation
Hardwiring allows you to conceal circuit wires behind wall panels, under floorboards, behind weather stripping, or within conduits. This results in a neater, more professional appearance for the interior (or exterior, if installed outdoors).
Convenient Constant or Ignition Power
When wiring the socket, you can choose between "always on" or "ignition on" power modes. For campervans, caravans, RVs and motorhomes with a leisure battery, only "always on" mode is available.
However, when connecting to a starter battery, you can opt for either "always on" power or "ignition on" power. With "always on" power, the Mini remains powered regardless of the ignition state, whereas "ignition on" powers the Mini when the ignition is on. In some vehicles, the "ignition on" mode works with the ignition set to the ACC (accessory) setting, while others require turning the key to the "ON" position.
Frees Up Other Power Sockets
Hardwiring the socket in your vehicle or camper adds a new electrical outlet. In return, this leaves the pre-existing cigarette lighter outlets or Anderson Plugs for other devices or appliances.
Note: If drilling a new mounting hole is not feasible, the rear barrel of the socket (1-1/16 inch diameter) fits into the standard cigarette lighter socket cutouts (27mm to 29mm). But since most low-voltage vehicle and camper accessories are designed for cigarette lighter sockets, we recommend installing the socket with a fresh cutout for a dedicated setup.
Method 1: How to Install the Socket in the Driver's Cabin
This setup is suitable for campers, cars, trucks and vans, as it involves hardwiring the socket to the main starter battery. It is not a plug-and-play accessory like the dedicated Starlink Mini car adapter, but the installation is straightforward: select a power source, make the wiring connections, and mount the socket.
What You'll Need
- Starlink DC socket
- 1x ring terminal connector
- 2x heat-shrink butt connectors
- Add-on piggyback fuse holder
- Multipurpose wire stripping and crimping tool
- 14AWG to 18AWG twin-core wiring cable (or two single-core cables)
The additional wiring cable should be long enough to extend from the fuse box to the mounting hole for the socket. Therefore, you must identify the fuse box in your vehicle or camper and measure the required cable length based on the wiring route.
Step-by-Step Installation
- Gather all required materials in one place.
- Strip the ends of both the socket's pigtails and the additional wiring cable, ensuring enough copper conductor is exposed to fit securely in the connector.
- Insert the positive pigtail of the socket into a heat-shrink butt connector, making sure the wire extends through the other side.
- Connect the positive end of the stripped additional wiring cable to the positive pigtail from Step 3, twisting the conductors tightly for a secure connection.
- Slide the butt connector over the twisted wires so the solder is centred, then crimp it using your crimping tool.
- Repeat Steps 4 and 5 for the negative wire of the socket.
- With the socket's wiring extended, insert the stripped end of the positive wire into the wire tap connector of the piggyback fuse holder, then crimp it for a tight connection.
- Attach a ring terminal connector to the stripped end of the negative wire and crimp it securely.
- Go to the fuse box in your vehicle or camper and select a fuse slot for non-essential circuits, such as the stereo or a pre-existing cigarette lighter socket.
- Identify a nearby earth point bolt (e.g., behind the outer door sill trim under the dashboard). Remove the trim using a flathead screwdriver or trim remover.
- Unscrew the earth bolt, attach the ring terminal from the negative wire, and screw the bolt back in place.
- Insert the piggyback fuse holder into the chosen fuse slot (from Step 9). If installed correctly, the DC socket should now be powered and ready to operate your Starlink Mini. You can perform a quick test to confirm.
- If the test is successful, secure the socket by drilling a 27mm–29mm diameter hole in the dashboard kick panel, taking care not to damage existing wiring.
- Mount the socket in the hole, secure it with its locknut, and conceal the wiring for a clean, professional appearance.
Method 2: How to Install the Socket on a Caravan Wall Panel
In this second method, we'll explain how to install the socket on a wall panel by tapping into the splice connections of an existing accessory's power source.
What You'll Need
- Starlink DC socket
- Closed-end connectors
- A DC accessory (e.g., an existing socket)
- Multipurpose wire stripping and crimping tool
- 14AWG to 18AWG twin-core wiring cable (or two single-core cables)
Step-by-Step Installation
- Gather all necessary materials.
- Unscrew and remove the device you plan to tap into from the wall panel.
- Carefully pull the device's wires to access the splice connection leading to the fuse block of your campervan or RV's battery system. Make sure you have located the splice connection of both positive and negative terminals.
- Drill a 27mm–29mm hole for mounting the socket. The socket uses a locknut secured from behind (if accessible).
- Remove the closed-end connector from the splice connection by squeezing it with pliers or snipping it off. Merge the stripped ends of the additional wiring cable with the splice connection wires (matching polarities) and twist them tightly.
- Slip a closed-end connector over the twisted wires and crimp it for both positive and negative connections. Then pass these wires through the mounting hole from behind.
- Next, connect the wires from the mounting hole to the pigtails of the socket, ensuring correct polarities. Then add a connector to each wire pair and crimp securely.
- Turn on the power source to test the socket.
- If the test is successful, tuck the cables behind the wall panel and secure the socket with its locknut. Congratulations, you now have a dedicated DC power socket for your Starlink Mini.
Frequently Asked Questions
Does the socket require external fusing?
No, an external fuse is not necessary when installing via a piggyback fuse tap. The tap fuse holder usually includes a fuse in its top slot for the accessory. Additionally, this particular socket features a multilayer protection system against overcurrent, overvoltage and short circuits.
However, for the wall panel installation, we recommend adding an inline fuse along the positive line for extra safety. Given the socket's maximum current output of 3.5 amps, a 7.5A or 10A fuse is suitable. This ensures the socket's built-in protections remain effective, as the external fuse will blow in the event of an electrical fault.
What voltage does the socket deliver to the Starlink Mini?
It accepts a 10V to 28V input and uses voltage step-up circuitry to deliver a consistent 30V output — the same as the original Starlink AC power supply brick. The Starlink Mini itself operates within a 12V to 48V range.
Will it fit an existing cigarette lighter cutout?
Yes. The rear barrel measures 1-1/16 inch in diameter, which fits standard cigarette lighter socket cutouts of 27mm to 29mm. That said, we recommend drilling a fresh 27mm–29mm cutout for a dedicated setup, keeping your existing outlets free for other accessories.
Can the socket be switched with the ignition?
When hardwired to a starter battery, you can choose either "always on" or "ignition on" power. With a leisure battery in a campervan, caravan, RV or motorhome, only "always on" mode is available.
Ready for reliable off-grid internet on every trip? Get the Starlink DC Power Socket from Campervan Builders and give your Starlink Mini a dedicated, hardwired 12V power point.