Ever thought of having an external power source for the Starlink Mini in your adventure vehicle? The new Starlink Mini Waterproof Wall Socket gives you not just an outlet for the dish — it also offers the flexibility to run it off your primary DC electrical system or AC shore power. Once everything else is connected, you simply plug the socket's barrel jack cable into the Starlink Mini DC adapter or AC power supply brick to activate it.
Why does this matter? When travelling in a campervan, caravan or motorhome, your leisure batteries are usually the main power source — and battery power is rarely enough, so it's important to save as much of it as possible. One way to conserve battery energy while off-grid is by hooking up to shore power at a campground. This not only helps recharge your leisure batteries faster but also lets you run various electronics in the meantime. Starlink is one of these devices, and this dedicated wall socket allows you to easily switch between powering your Mini kit with a DC or AC supply.
In this blog, we'll walk you through the steps to install the socket in your campervan, caravan or motorhome, and highlight some additional accessories you can pair with it for the best off-grid experience.
What Is the Starlink Mini Waterproof Wall Socket?
The Starlink Mini (like all Starlink internet kits) requires a clear line of sight to LEO satellites overhead for fast, reliable connectivity. This means the Starlink dish must be positioned outside, which you can set up by connecting the Starlink cable to a power source located either inside or outside the caravan.
The new Starlink Mini Waterproof Wall Socket is an accessory that lets you power a Starlink Mini from outside your caravan or motorhome. As the name suggests, it mounts on the outer wall and connects to a power supply inside the vehicle. That supply can be either a DC source from the leisure battery system or an AC output from a generator or campground shore power.
How Does the Starlink Wall Socket Work?
Did you ever use the old weatherproof satellite TV sockets mounted outside caravans for direct antenna cable connections? These sockets are rarely used today, but they worked by being mounted on the outer wall of the vehicle. You would route the coaxial input cable inside to the satellite receiver or TV, while the female socket connected to the antenna cable.
The new wall socket works on the same principle. You simply install it outside your caravan or motorhome and wire it to your electrical system. Then, whenever you want to use your Starlink internet service, you plug the cable from the Mini dish into this socket.
The wall socket features a special female DC5521 output that accommodates the barrel jack end of the original Starlink cable with a watertight seal. This ensures the connection remains secure and fully protected against moisture, rain and dirt.
The Starlink external socket also includes an integrated weatherproof cap (bung) to cover the female DC output when the dish cable is removed. This keeps it protected against harsh elements even when not in use, helping to maintain performance and durability.
For added longevity, the socket is built with a rugged aluminium housing, which resists cracking, shattering and UV damage. Both input and output connectors use copper for maximum conductivity and durability.
It's also worth mentioning that we provide the wall socket with its mounting supplies, so you only need the right tools to complete the installation.
What's in the Kit and What Tools Do You Need?
The socket is simple to install, whether you enjoy DIY projects or just want to save on installation costs. We supply it with all the essential installation components, so you won't need to make extra trips to the hardware store:
- Foam gasket pad — serves as a template for accurately marking the holes you'll drill for the cable and screws.
- Aluminium wall plate — a 60 x 60 mm square plate that secures the socket to the caravan or motorhome wall. It has a central predrilled hole plus four corner screw holes.
- Starlink Mini power supply socket — the core unit, with a female DC5521 socket on one end and a barrel jack cable on the other. The DC5521 socket connects to the Starlink Mini cable, while the barrel jack cable connects to the internal power source.
- Retainer lock nut — secures the socket unit to the aluminium wall plate by screwing onto the barrel of the socket.
- Mounting screws — four screws that fasten the assembly to the caravan wall, sized to fit the predrilled holes in both the foam gasket and the wall plate.
Besides the components above, you'll need a few tools:
- Drill with a small bit — for drilling the four screw holes.
- Hole saw (28–44 mm) — to cut the central hole in the caravan wall for the socket.
- Phillips screwdriver — for tightening the mounting screws and securing the wall plate.
- Silicone caulking (optional) — since the gasket pad has no adhesive backing, we recommend applying silicone sealant around the housing to ensure a watertight seal.
How to Install the Starlink Mini Waterproof Wall Socket Step by Step
1. Choose a Good Mounting Location
Before drilling any holes, choose the best location on your caravan for the socket. Ensure the spot is clear of internal cabling routes, plumbing systems and other critical features. If the chosen location falls behind interior wall panelling, seating or cupboards, make sure the socket's input cable will still be easy to access.
2. Mark the Drilling Points
Use the provided foam gasket pad as a template. Place it over your selected mounting area, then mark the drilling points for the four corner mounting holes and the large central hole.
3. Drill the Mounting Holes
Using a drill with the appropriate hole saw (28–44 mm), cut the central hole for the power supply socket unit. Then switch to a small drill bit to make the screw holes for mounting.
4. Apply Rustproof Paint (Optional)
We recommend applying two coats of rustproof paint over the cut edges of the central hole to help prevent corrosion at the cut point. This step is optional, which is why paint was not included among the required supplies.
5. Pair Up the Socket and Wall Plate
Insert the power supply socket unit into the aluminium wall plate, ensuring the front face is oriented correctly. Secure it firmly with the retainer lock nut.
6. Position the Wall Socket in Place
Place the foam gasket pad onto the mounting surface, making sure its holes align perfectly with the ones you drilled. Next, position the aluminium wall plate (with the socket unit already fitted) over the gasket. Feed the socket's rear barrel and input cable through the central hole, aligning the mounting holes accurately.
7. Secure the Wall Socket to the Vehicle
With everything in place, press the complete assembly against the wall of your camper. Then tighten the four mounting screws, being careful not to over-tighten and strip the threads.
8. Apply Silicone Sealant Around the Socket
Apply silicone caulking around the edges of the wall plate to enhance the watertight seal and protect the installation against moisture.
9. Connect the Wall Socket to Power
With the socket secured, route the input cable inside your vehicle to the power source. The cable terminates with a male DC5521 barrel jack pin, making it easy to connect to either a 230V AC or 30V DC power supply.
If you're using a 230V AC power source, you'll need the Starlink Mini power supply brick connected to your inverter or AC distribution outlet. The barrel jack end is specifically designed to fit into the DC port of this Starlink brick.
For a 30V DC power source, you'll need either a voltage booster or a dedicated conversion kit. We provide several such options with varying designs to suit your needs, including:
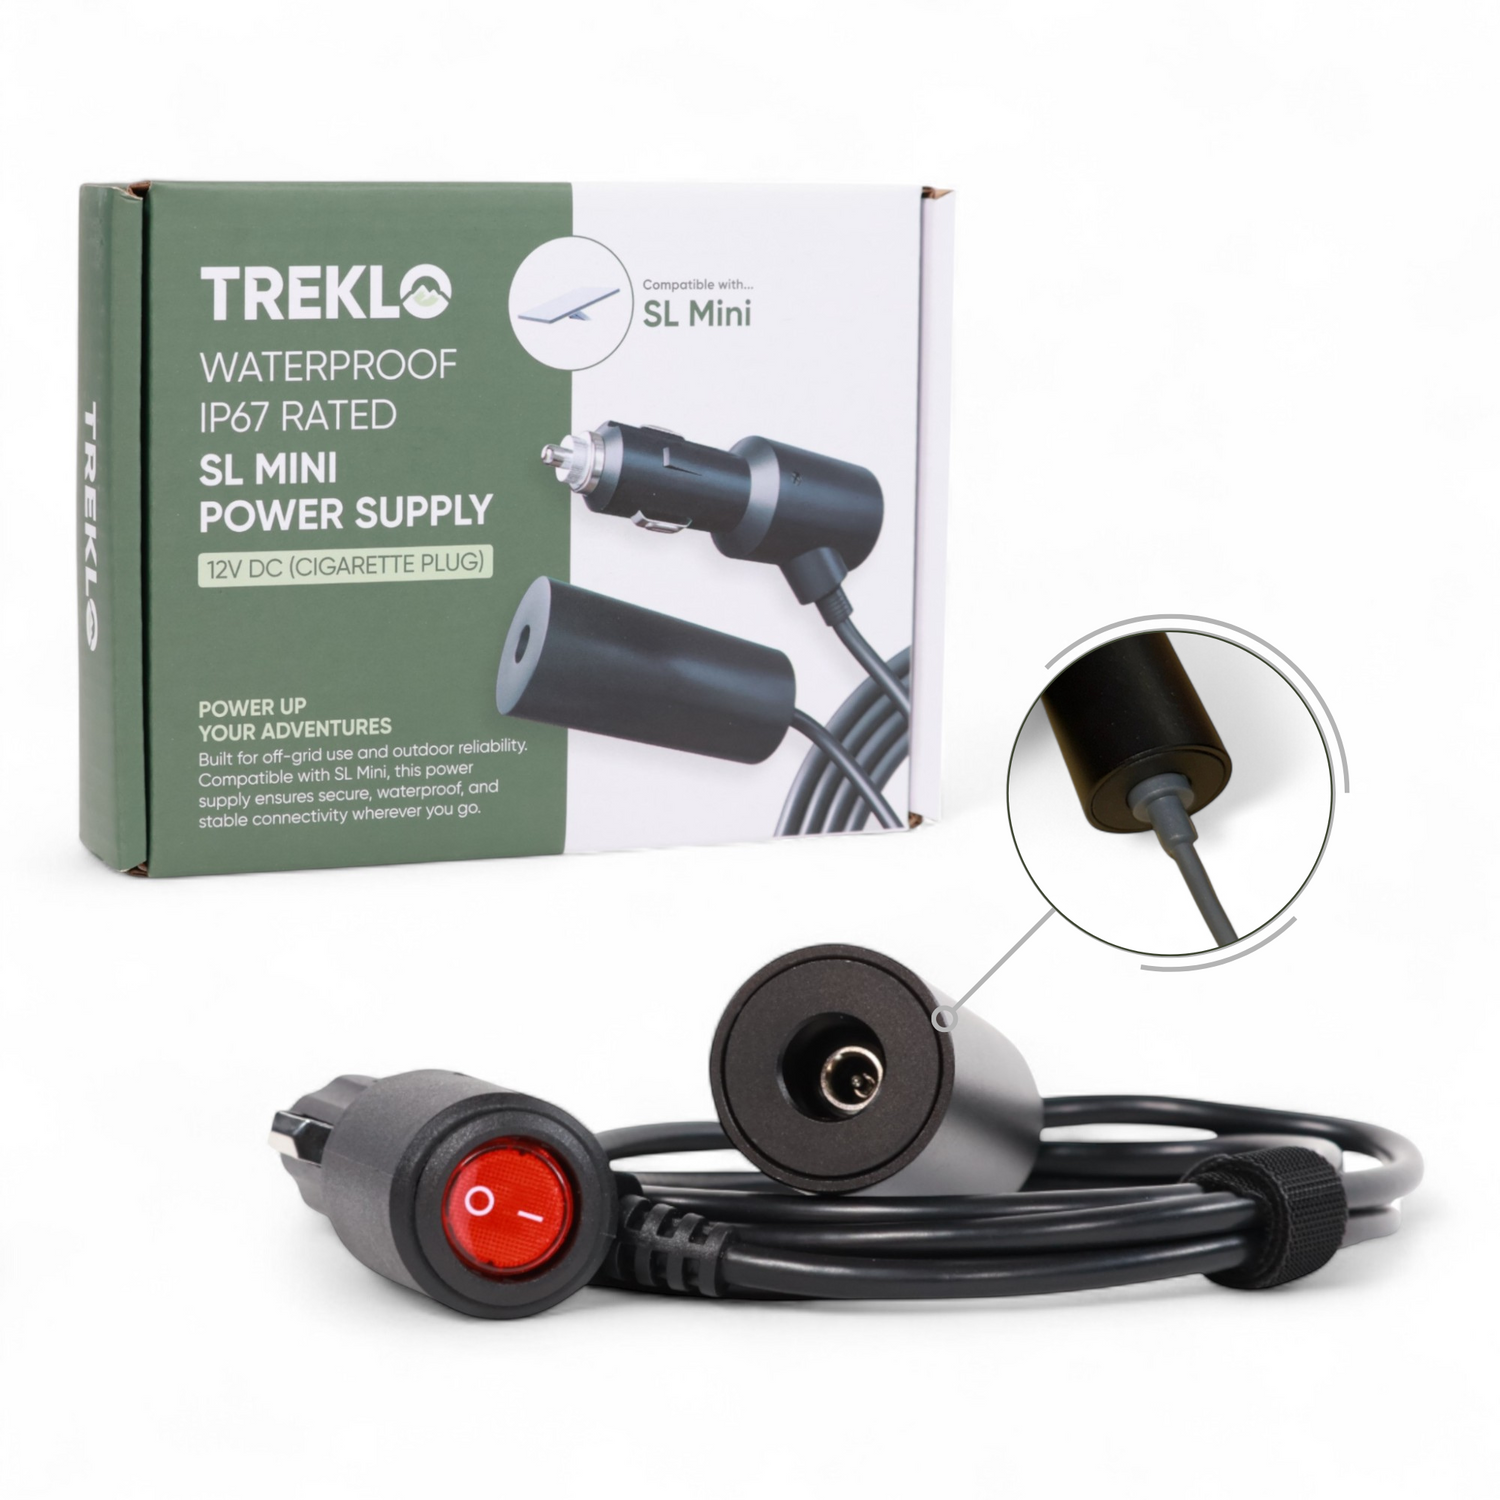
- Starlink Mini Plug and Play IP67 Cigarette Lighter DC adapter: Features a female DC5521 output. Simply plug in the wall socket cable and connect it to your caravan's cigarette lighter socket.
- Starlink Mini Plug and Play Anderson Plug IP67 DC adapter: Also includes a female DC5521 output. Just plug in the wall socket cable and connect it to your vehicle's Anderson Plug output.
- Starlink Mini Waterproof DC Booster: Features a male DC5521 output, so you'll need a Starlink Mini Female to Female DC joiner to connect the input cable of the new waterproof wall socket.
- Starlink Mini DIY Kit: Includes a female DC5521 adapter to attach to its output cables, allowing you to connect the wall socket input cable directly.
Why Get the Wall Socket if You Already Have a Power Adapter?
The new wall socket is a valuable accessory that enhances the versatility of your Starlink Mini kit. Its female DC5521 output is designed to accept the cable from the Mini dish, while the male barrel jack input connects to the output port of the Starlink Mini power brick or a DC supply adapter.
In other words, this wall socket isn't just for creating an external power source to run your Starlink Mini internet kit. It also makes switching between a 230V AC and a DC supply much easier — you simply unplug the barrel jack input from one power source and plug it into the other.
That said, keep in mind that powering the Starlink Mini via a DC adapter is more efficient than using a power inverter. You should only connect the wall socket to an AC supply when you're on shore power. Avoid using the 230V Starlink Mini power brick with the inverter.
Frequently Asked Questions
Can the wall socket run on both AC and DC power?
Yes. The input cable's male DC5521 barrel jack connects to either the Starlink Mini power supply brick on a 230V AC source (such as campground shore power or a generator) or to a 30V DC supply via a voltage booster or conversion kit from your leisure battery system.
What size hole do I need to drill in the caravan wall?
You'll cut one central hole with a 28–44 mm hole saw for the socket barrel, plus four small screw holes marked using the supplied foam gasket template. The 60 x 60 mm aluminium wall plate then secures the assembly to the wall.
Is the socket weatherproof when not in use?
Yes. It includes an integrated weatherproof cap (bung) that covers the female DC output when the dish cable is removed, and the rugged aluminium housing resists cracking, shattering and UV damage.
Do I need extra parts to connect the socket to DC power?
It depends on your setup. The cigarette lighter and Anderson Plug IP67 adapters have female DC5521 outputs that accept the socket's cable directly. The Starlink Mini Waterproof DC Booster has a male DC5521 output, so it requires a female to female DC joiner, while the Starlink Mini DIY Kit includes a female DC5521 adapter for a direct connection.
Ready to power your dish from outside the van? Get the Starlink Mini Waterproof Wall Socket from Campervan Builders and enjoy effortless switching between shore power and your battery system.